Phone:
+254 719 428 550
Physical address:
Information House, Hakati Road,
Nairobi, Kenya.

Phone:
+254 719 428 550
Physical address:
Information House, Hakati Road,
Nairobi, Kenya.
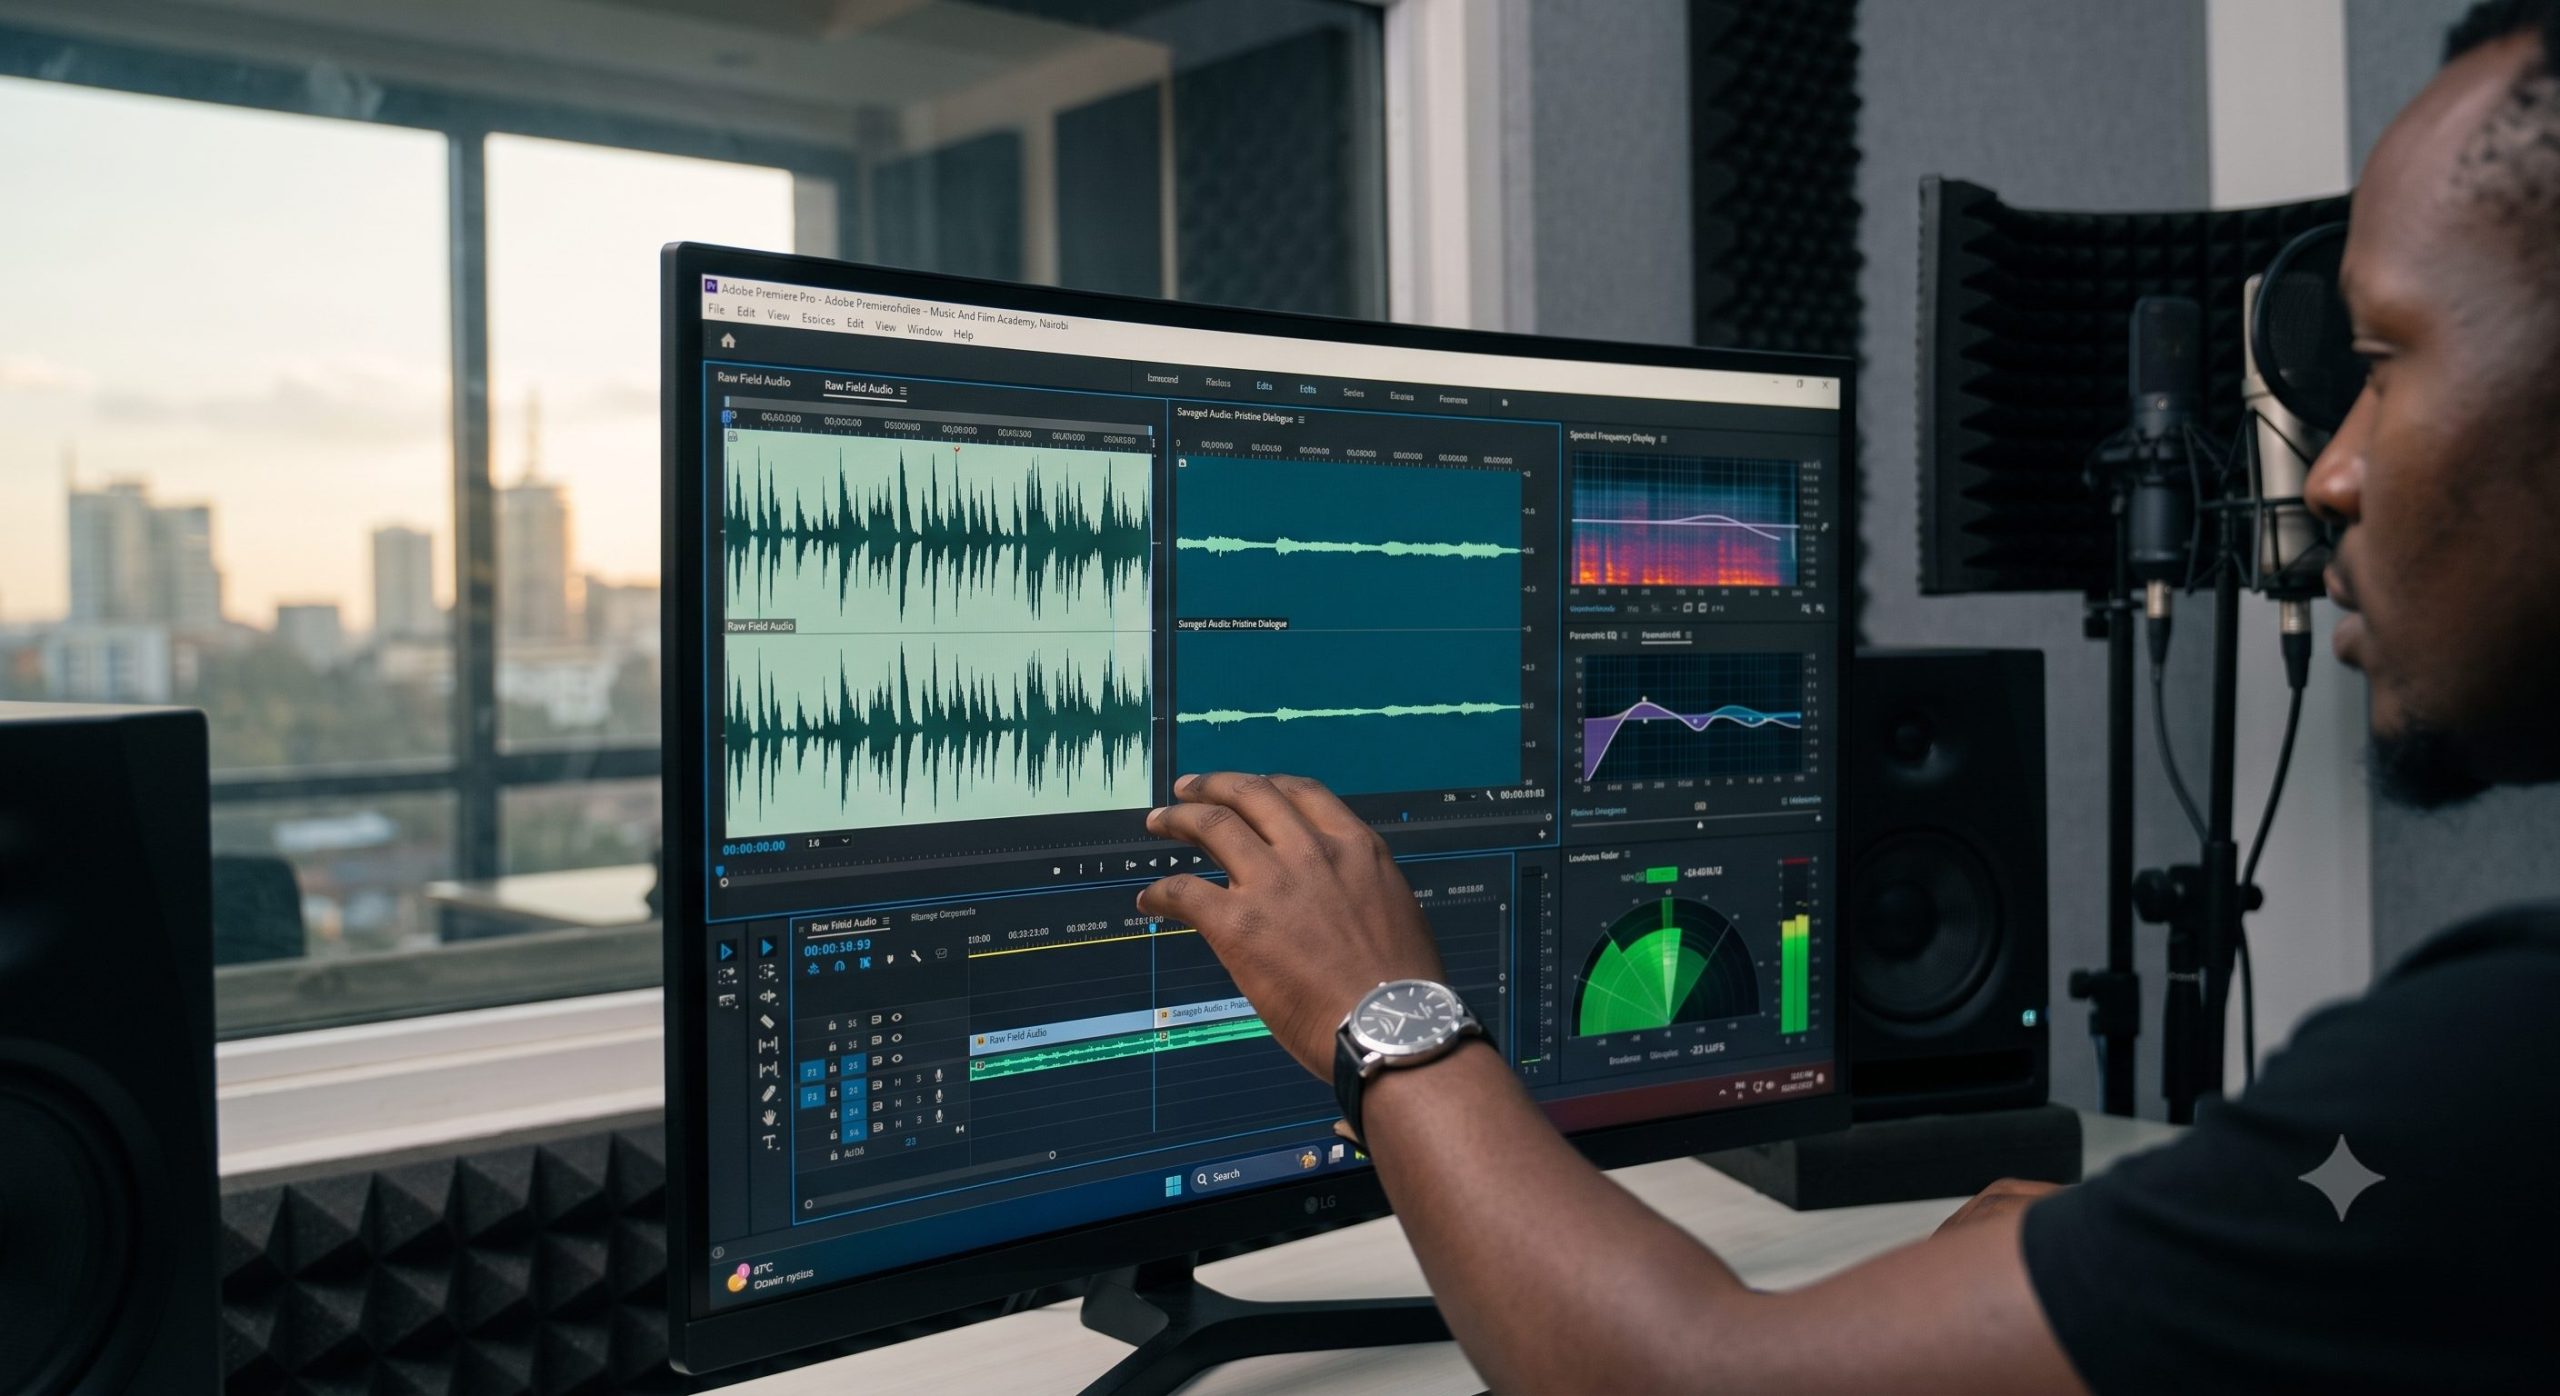
Ask any seasoned broadcast engineer along Nairobi’s media corridors, and they will tell you the same thing: an audience will tolerate mediocre visual framing, but they will switch off a video instantly if the audio is terrible. Across East Africa, independent creators, corporate video editors, and documentary filmmakers frequently run into severe environmental sound issues. Whether you are dealing with the sharp echo of an untreated glass-walled boardroom in Upper Hill, the low-frequency rumble of a server rack, or the constant roar of traffic along Mombasa Road, background noise can quickly ruin an otherwise perfect production. Learning how to savage echo and background noise in Premiere Pro is the definitive skill that separates amateur content from elite, broadcast-ready media assets.
Many local editors make the mistake of relying entirely on simple drag-and-drop presets like “DeNoise” or “DeReverb,” only to find that their subject’s voice ends up sounding metallic, muffled, or digitally broken. True audio sweetening requires a structured, precision approach. You need to understand how to locate hidden noise frequencies, use equalization tools to polish speech profiles, and fix alignment issues when working with multiple microphones. This masterclass manual provides the exact step-by-step techniques required to clean up bad field audio inside Adobe Premiere Pro and deliver pristine, professional dialogue.
Before you start twisting volume knobs or adding audio filters to your timeline, you must first identify the exact nature of the unwanted noise. Human ears are excellent at recognizing bad sound, but they cannot tell you the precise frequency numbers causing the issue. To fix audio problems without destroying the quality of your subject’s voice, you must learn to “see” your sound waves visually.
While the standard waveform timeline shows you how loud your audio is over time, it completely hides individual frequencies. To get a detailed, surgical view of your sound, you can send your problematic audio clip directly from Premiere Pro into its sister app, Adobe Audition, to use the advanced Spectral Frequency Display.
[Timeline: Muddy Waveform] ──► [Adobe Audition Link] ──► [Spectral Display View] ──► [Isolate & Erase Noise]
                                                                  │
                                                          Visualizes Sound
                                                          by Exact Pitch (Hz)
The Spectral Frequency Display visualizes your sound files using three distinct dimensions: time runs horizontally from left to right, the frequency pitch runs vertically from 0 Hz up to 20 kHz, and the brightness or color saturation of the pixels shows you exactly how loud that specific frequency is.
Once you locate a specific background noise visually within the spectrum, use the Lasso Selection Tool or the Spot Healing Brush Tool to draw directly over the unwanted frequency mark. The software uses advanced algorithms to analyze the surrounding clean audio data, cleanly erasing the rogue sound line without altering or affecting the underlying vocal performance. After cleaning up the frequencies, save the file to instantly update your audio track directly back on your Premiere Pro editing timeline.
Once you have removed distinct background noises from your audio track, the next step in learning how to savage echo and background noise in Premiere Pro is carving out space for clear, readable dialogue using the Parametric Equalizer effect. This tool allows you to isolate and adjust specific frequency bands to make voices sound rich and natural, while rolling off unwanted ambient sounds.
                  [VOCAL FREQUENCY MANAGEMENT]
                               │
       ┌───────────────────────┴───────────────────────┐
       ▼                                               ▼
[High-Pass Filter Cutoff]                     [Surgical Mud Reduction]
       │                                               │
Roll off everything below 80Hz                 Locate and notch out room
to eliminate building rumbles                  reflections between 250Hz–400Hz
The absolute first step when configuring a professional Parametric EQ block is activating a High-Pass Filter (HPF) on your dialogue track. Human voices cannot physically produce sub-bass frequencies below 80 Hz. However, microphone capsules will constantly capture low-end vibrations within this range, such as passing trucks, wind gusts against the windscreen, or the deep rumble of an air conditioning unit.
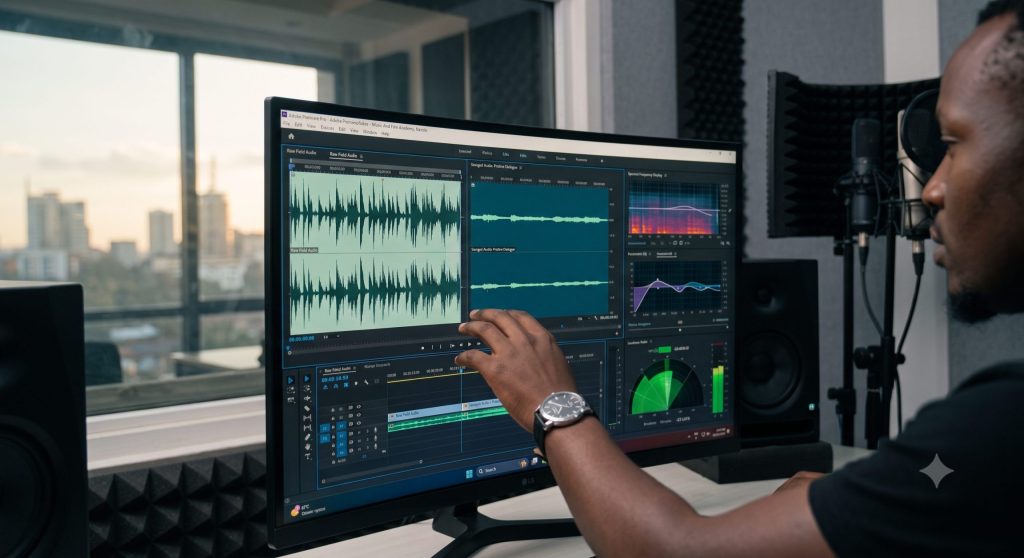
When recording interviews inside empty, hard-surfaced spaces like tiled offices or uncarpeted church halls, vocal reflections bounce off the walls and pool between 250 Hz and 500 Hz. This creates a heavy, muddy sound that makes it difficult to hear speech clearly.
When managing premium multi-camera corporate interview sets or large talk show panels, production teams often record a subject using two different microphones simultaneously—such as a lapel wireless microphone clipped to their shirt and a directional boom microphone positioned overhead on a stand. While having a backup audio track is a great safety measure, playing both files back together on your timeline can sometimes introduce a strange, hollow, or sweeping “phase” sound that weakens your dialogue.
Sound travels through the air in physical waves. Because an overhead boom microphone sits further away from a subject’s mouth than a chest-mounted lapel mic, the sound wave takes a few milliseconds longer to reach the boom capsule.
When you place these two tracks on top of each other on your Premiere Pro editing timeline, the peaks of one sound wave will line up directly with the troughs of the other, causing them to fight and cancel each other out. This mathematical conflict results in a thin, hollow, and unnatural voice profile.
Track 1 (Lavalier):  /\  /\  /\  (Sound arrives instantly)
Track 2 (Boom Mic):   \/  \/  \/  (Sound arrives delayed by milliseconds = Phase Cancelation!)
To eliminate phase cancelation issues and blend your microphone tracks together for a rich, full-bodied sound, use this precise manual alignment routine:
Alt key (or Option on Mac) and use your keyboard’s left and right arrow keys to slide the track forward or backward by individual audio samples. Adjust the clip position until the wave peaks and valleys of the boom track line up exactly with the lapel track. Turn off Audio Time Units once aligned to return to normal editing. This micro-alignment brings your tracks back into perfect phase, combining their strengths for a rich, full-bodied broadcast sound.| Dialogue Fix Stage | Technical Indicator | Primary Software Tool | Expected Direct Output |
| Spectral Erasing | Rogue lines, car horns, random background bangs | Audition Spectral Lasso Tool | Smooth background space with no sudden interruptions. |
| Low-End Clean Up | Deep background rumbles, traffic hums | Parametric EQ (High-Pass Filter) | Crisp, lightweight vocal baseline with sub-bass noise removed. |
| Notch Filtering | Hollow office echo, muddy sounding voices | Parametric EQ (Narrow Q-Band) | Clear, punchy dialogue with messy room reflections removed. |
| Phase Alignment | Thin, hollow vocal tone when mixing two mics | Show Audio Time Units (Sample Zoom) | Rich, full-bodied voice that blends both tracks perfectly. |
💡 The MFA Factor: To build a successful editing career, you need to know how to navigate complex multi-track audio timelines, manage phase alignment issues, and master advanced broadcast processing tools. Explore our specialized Video Editing Courses in Kenya landing page to see how our hands-on campus labs can transform your technical production skills.
Once your dialogue frequencies are clean and properly aligned, you must balance your overall volume levels to ensure your mix sounds consistent across different devices, from smartphone speakers to home television sets.
Human voices naturally fluctuate in volume; a speaker might start a sentence with an energetic shout and end it with a soft whisper. To control these volume swings without introducing unnatural pumping artifacts, use Premiere Pro’s Multi-Band Compressor effect.
[Dynamic Voice Input] ──► [Multi-Band Compressor] ──► [Low Band / Mid-Low / Mid-High / High] ──► [Balanced Output]
To dive deeper into the physics of sound propagation, acoustics engineering, and international broadcast compliance benchmarks, explore the technical training archives published by the Acoustical Society of America (ASA).
💡 The MFA Factor: Developing a great ear for sound requires structured, hands-on practice in professional environments. Our foundational Basic Certificate in Video Editing Course tracks are designed to teach you essential dialogue editing, multi-track mixing, and software optimization techniques on high-spec campus hardware.
The final stage of a professional audio sweetening workflow is making sure your project meets international loudness regulations. Local television networks and global streaming platforms use strict loudness meters rather than traditional peak meters to evaluate submissions, helping prevent sudden volume jumps between different programs.
Loudness is calculated using Loudness Units Full Scale (LUFS), which measures perceived human hearing volume over time.
To verify your project’s volume consistency before exporting, place Premiere Pro’s built-in Loudness Radar Meter effect onto your Master Audio Track mixer channel.
Run your timeline from start to finish; if your track regularly pushes past your target LUFS limit, use a Limiter plugin set to a hard ceiling of -2.0 dBTP (Decibels True Peak) to stop any digital distortion while keeping your volume clean and broadcast-compliant. For comprehensive research regarding intellectual properties protection, copy distributions licensing, and digital media publishing laws within East Africa, check out the compliance guides managed by the Kenya Copyright Board (KECOBO).
                  [LOUDNESS STANDARD METRICS]
                               │
       ┌───────────────────────┴───────────────────────┐
       ▼                                               ▼
[Local TV Networks: -23 LUFS]                [Social & Web Apps: -14 LUFS]
       │                                               │
Matches traditional television               Optimized for clear playback on mobile
broadcast transmission levels                devices and online video platforms
💡 The MFA Factor: Want to transition from basic timeline cuts to leading large commercial projects, mastering complex multi-camera cinema switching, and managing high-end studio gear layouts? Upgrade your technical expertise by checking out our elite Advanced Certificate in Videography Course options.
Mastering how to savage echo and background noise in Premiere Pro is a vital skill that instantly elevates the value of your commercial video projects. By using visual spectral displays to isolate noises, configuring custom notch parametric EQ curves to remove room mud, aligning multi-mic setups to fix phase cancelation, and mixing to precise international LUFS standards, you deliver polished, broadcast-ready assets that corporate brands and networks respect.
Sustained commercial success in the competitive media sector requires comprehensive, hands-on technical training. At the Music And Film Academy, we provide our students with professional recording gear, sound-treated audio suites, and high-spec post-production labs to help them build standout creative portfolios. Stop letting bad room echo or distracting background noises limit your success. Take control of your professional development, study with veteran industry mentors, and join a collaborative network of visual creators by enrolling at our Nairobi campus today.
To see these spectral selection tools, parametric EQ sweeps, and multi-mic alignment setups in action on a live timeline, watch this detailed video tutorial on how to Clean Up Audio Directly Inside Premiere Pro. This walkthrough gives your media team a clear look at managing frequency tracks, adjusting noise reduction limits, and monitoring levels to ensure a clean, broadcast-ready baseline for your final mix.