Phone:
+254 719 428 550
Physical address:
Information House, Hakati Road,
Nairobi, Kenya.

Phone:
+254 719 428 550
Physical address:
Information House, Hakati Road,
Nairobi, Kenya.
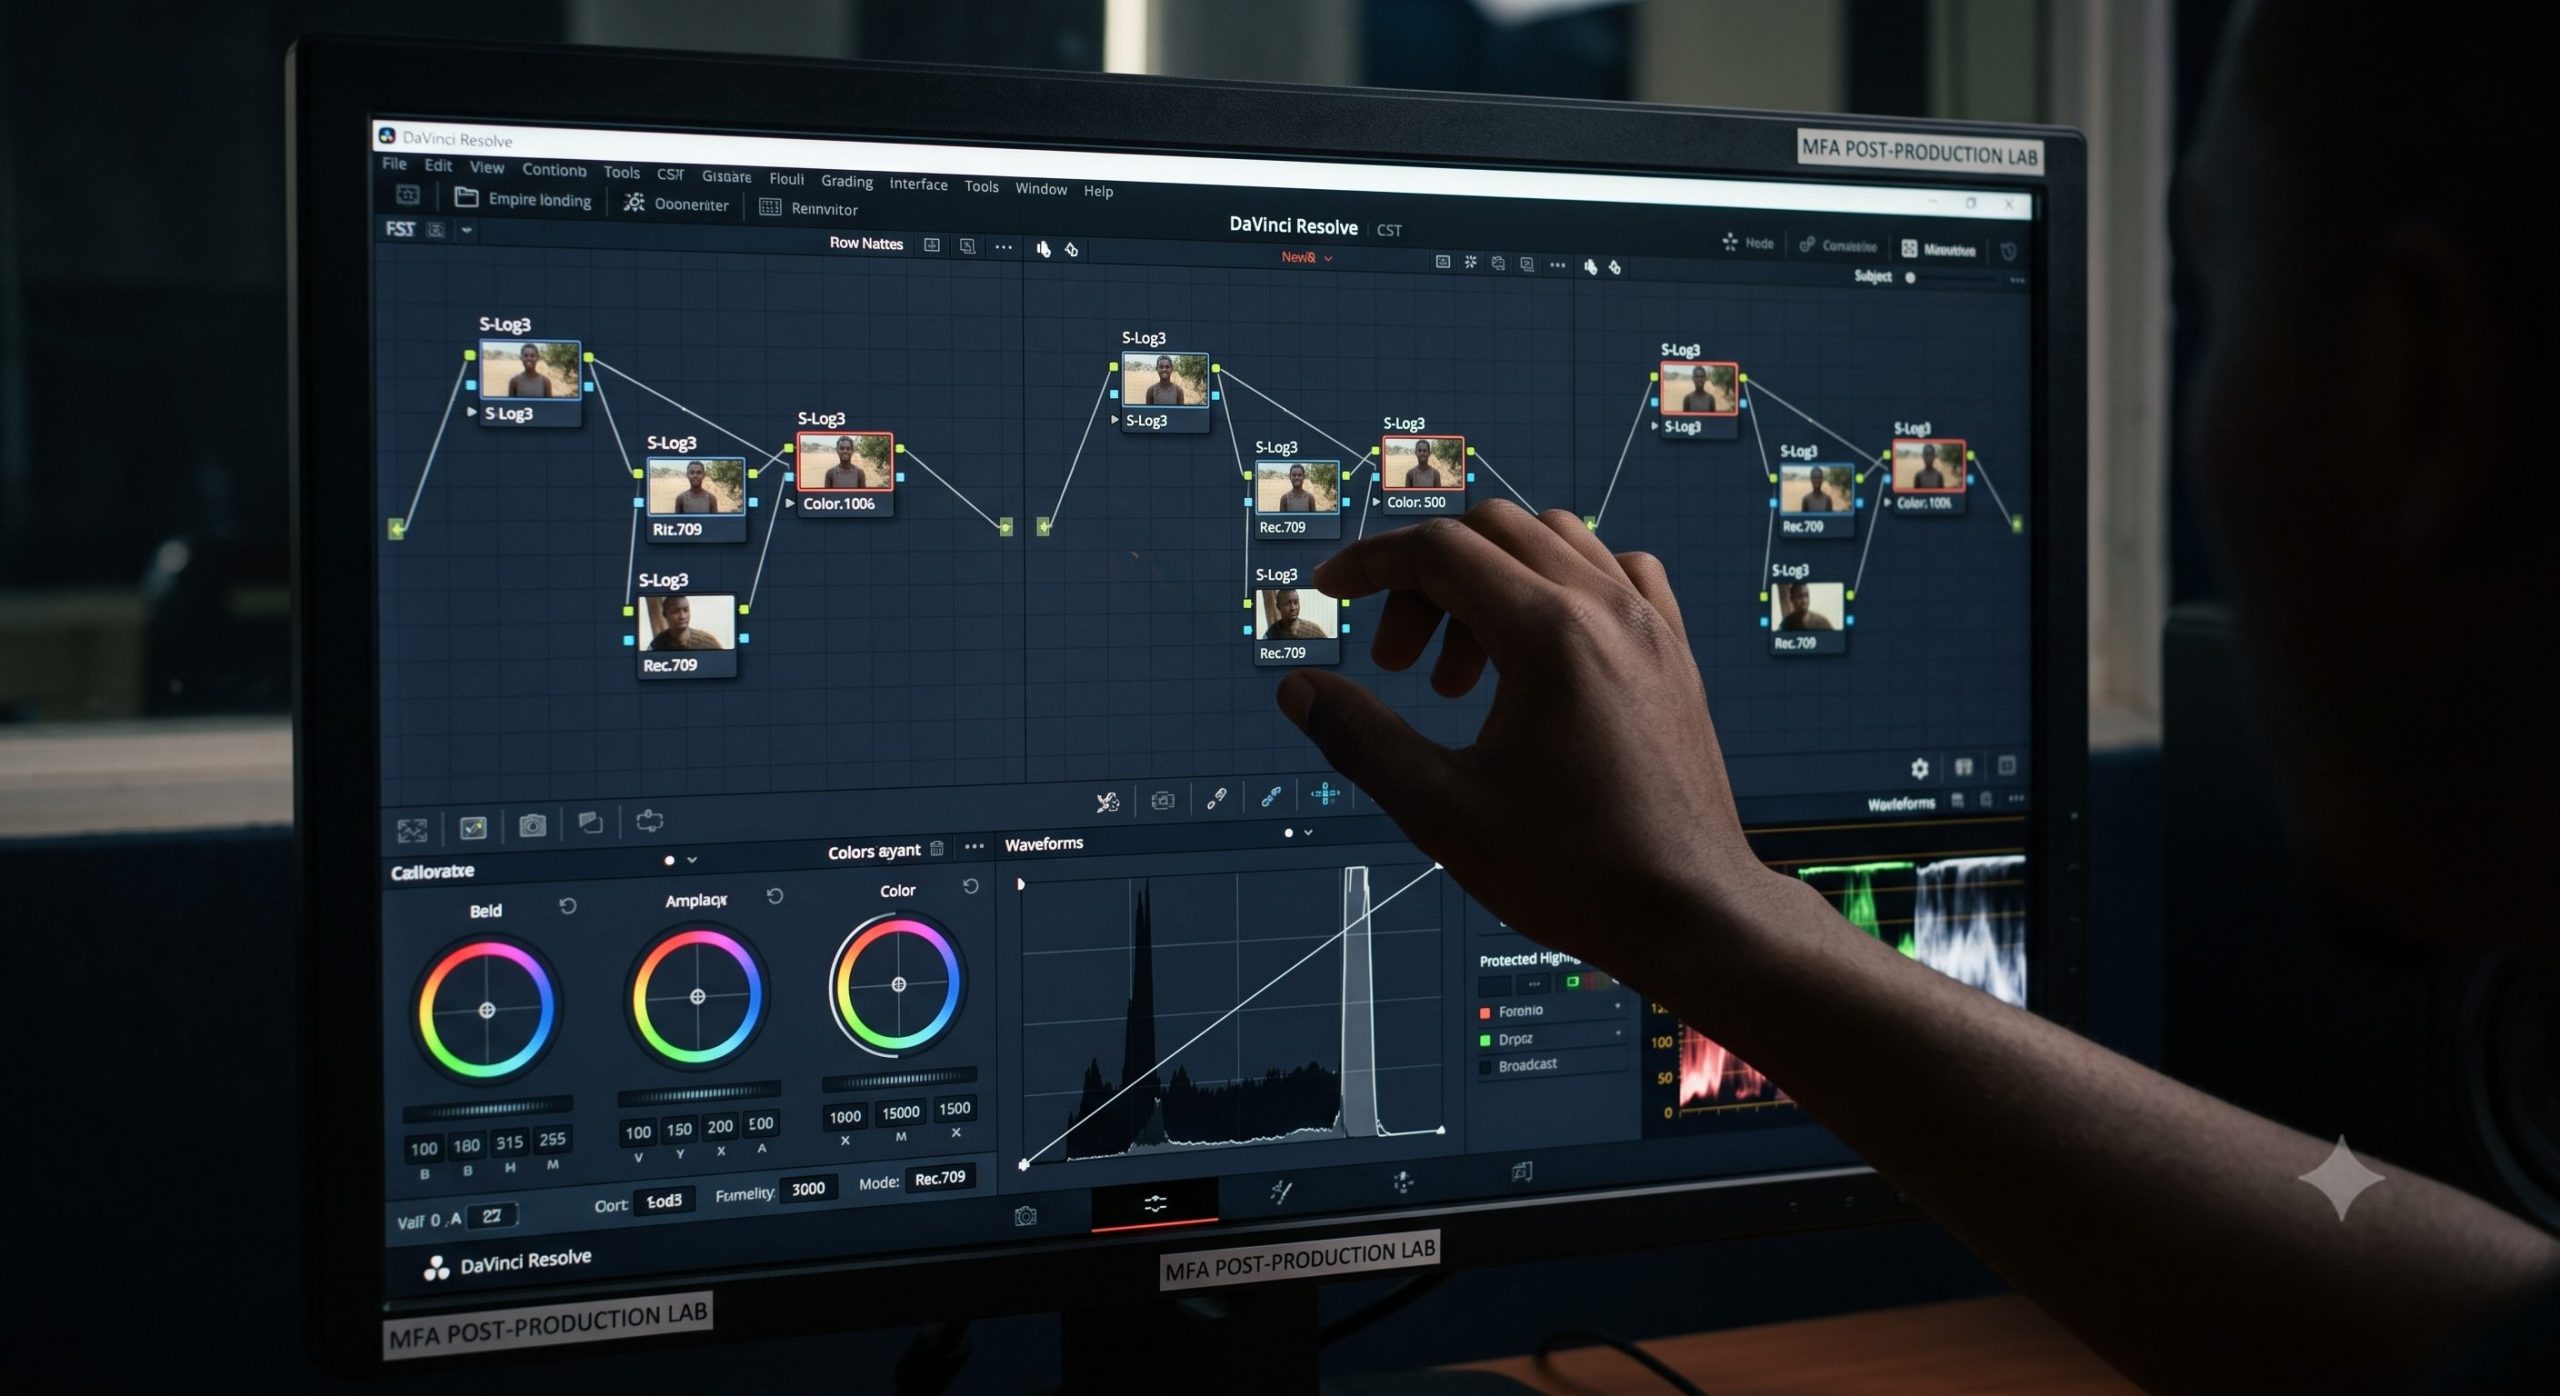
One of the most noticeable differences between an amateur local production and an international documentary or high-end commercial asset boils down to color science. Many videographers across Nairobi are step-saving their production workflows by shooting in log profiles (such as Sony S-Log3, Canon Log 2, or Blackmagic RAW) to capture maximum dynamic range under our intense midday sun. However, when these files land on a post-production timeline, local editors frequently fail during the conversion process. If you have ever applied a generic internet Look-Up Table (LUT) only to watch your shadows turn into a grainy green mess and your skin tones shift into a plastic orange hue, you have hit a massive technical hurdle. Learning how to fix muddy log footage for East African broadcasts requires moving past guesswork and mastering the underlying physics of digital color spaces.
The traditional “Nairobi look” found in rushed music videos and local television programs often suffers from flat contrast, oversaturated highlights, and clipped shadow regions that choke out fine details. When displaying deep, rich melanin skin tones under harsh equatorial daylight, consumer-grade conversion shortcuts fail completely. To deliver broadcast-ready files that meet strict local network delivery standards, your editing team must adopt a rigorous color management protocol inside industry-standard platforms like DaVinci Resolve. This guide breaks down the precise scientific frameworks, color space transformations, and monitor calibration steps needed to transform flat log clips into rich, vibrant, and broadcast-compliant visual masters.
The core reason why generic, Western-made color grading packs fail when applied to local footage is a fundamental mismatch in light physics and subject contrast. Our position on the equator gives us an incredibly intense, high-overhead sun profile that creates harsh, high-contrast shadows alongside blindingly bright white specular highlights.
When a camera sensor captures an image in a logarithmic profile, it intentionally flattens the image contrast curve to squeeze up to 14 stops of dynamic range into a highly flexible digital container. The raw file appears grey, washed out, and muddy because it distributes sensor data evenly across a mathematical curve rather than displaying it as the human eye naturally sees. If you simply drag a generic conversion LUT onto this unmanaged timeline, the conversion algorithm will compress your highlights and blow out your shadow details, creating a flat, lifeless image profile.
Capturing and grading rich dark skin tones requires precise handling of under-the-hood color science. Darker skin tones possess beautiful, subtle undertones—ranging from warm golden and red notes to deep, cool umber shades—that reflect light with specific saturation levels.
To solve the puzzle of how to fix muddy log footage for East African broadcasts, you must establish a mathematically accurate color management workflow. The biggest mistake an editor can make is stacking creative LUTs onto an unmanaged timeline. A LUT is a static, rigid grid of values (33 times 33 times33 or 65 times 65 times 65) that forces pixels into fixed positions, which can easily destroy or discard valuable shadow and highlight data.
[RAW Log Footage Input] ──► [Color Space Transform (CST)] ──► [Balanced Rec.709 Image] ──► [Creative Color Grading]
                                    │                                  │
                             Maps Sony/Canon                        Restores Contrast
                             Specs to Broadcast                     Without Data Loss
Inside DaVinci Resolve, replace standard conversion LUTs with the native Color Space Transform OpenFX plugin. A CST uses exact floating-point math to smoothly convert your camera’s native color space into a standard broadcast delivery format without compressing or clipping your image data.
Never trust what your eyes see on an uncalibrated laptop screen or an office monitor when grading video files for commercial clients or television networks. Most consumer screens artificially boost contrast and change saturation levels to make videos look pretty, which can hide serious exposure issues in your files. To ensure your final video matches broadcast standards, you must learn to read your image data through professional digital scopes.
                 [BROADCAST EXPOSURE COMPLIANCE]
                                │
       ┌────────────────────────┴────────────────────────┐
       ▼                                                 ▼
[Waveform Monitor Analysis]                     [Vectorscope Saturation Tracking]
       │                                                 │
Tracks Luminance Scale                          Monitors Color Phase and Skin Tones
(Keep Highlights under 100 IRE)                 (Keep Skin Tones along the Indicator Line)
The Waveform monitor displays the total luminance (brightness) of your video frame from left to right, charting values along a clear scale from 0 to 1023 (or 0 to 100 IRE units).
The Vectorscope is a circular graph that measures the exact phase (hue) and intensity (saturation) of the colors in your video frame.
| Professional Scope Tool | Target Calibration Range | Tactical Impact on Video Timeline |
| Waveform Monitor | Shadows: 32–128 / Highlights: < 950 | Prevents muddy, crushed shadows and clips blown-out highlights. |
| Vectorscope (Skin Line) | Aligned directly along the axis vector | Ensures rich melanin skin tones look accurate and natural. |
| RGB Parade Monitor | Balanced levels across Red, Green, and Blue | Instantly isolates and fixes unwanted color casts in white backgrounds. |
💡 The MFA Factor: Ready to move past the limitations of simple color sliders and master the complex world of floating-point color management, professional LUT design, and node structures? Take your post-production skills to the highest level by enrolling in our advancedAdvanced Certificate in Video Editing Courseat the Music And Film Academy.
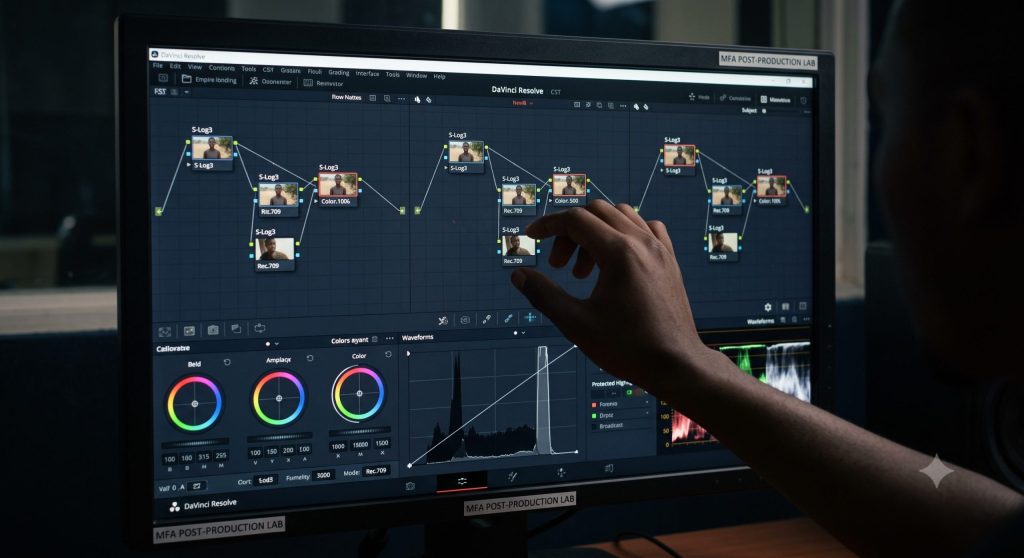
Once your primary Color Space Transform is locked in and your scopes are balanced, you can begin the creative grading process. Professional color grading relies on a clean, step-by-step node structure, where each node handles one specific adjustment task.
To keep your project organized and easy to adjust, structure your color node tree sequentially from left to right:
[Node 1: Exposure] ──► [Node 2: Balance Tint] ──► [Node 3: Skin Isolation] ──► [Node 4: Creative Look]
To learn more about international color reproduction rules, camera sensor manufacturing standards, and the science behind digital image processing, consult the professional training resources published by the Society of Motion Picture and Television Engineers (SMPTE).
💡 The MFA Factor: To deliver high-quality color grades, you need hands-on practice on professional, color-accurate displays under expert guidance. Our primary Video Editing Courses in Kenya landing page gives you a closer look at our advanced campus editing suites, where students train on high-spec production gear.
The final step in fixing muddy log footage is exporting your project using a high-quality, broadcast-compliant file format. Many editors make the mistake of exporting highly compressed files, which can reintroduce unwanted artifact noise and compression blocks into their smooth gradients.
When exporting files for local networks like Citizen TV, NTV, or KTN, adjust your advanced render settings to force Video Levels instead of “Data Levels.” Data levels are designed for computer screens and web browsers, while television broadcast hardware uses video levels (64-940). Exporting with incorrect data levels can cause your video to look overly dark or contrasty when broadcast on local television networks. To review professional guidelines on digital content archiving, file delivery standards, and video metadata workflows, explore the resources maintained by the International Center for Photography (ICP).
                  [DIGITAL EXPORT PROTOCOLS]
                              │
      ┌───────────────────────┴───────────────────────┐
      ▼                                               ▼
[Master Archive: ProRes]                     [Client Delivery: H.264]
      │                                               │
Preserves maximum color depth                Optimized with 10-bit encoding
and avoids compression noise                 for smooth web and mobile playback
💡 The MFA Factor: Technical optimization is an essential skill for any modern digital creator. If you want to learn advanced camera movement patterns, high-end production workflows, and professional studio lighting setups that make post-production seamless, explore our elite Advanced Certificate in Videography Course options.
Learning how to fix muddy log footage for East African broadcasts is an essential milestone that separates high-earning media professionals from casual content creators. By replacing rigid conversion LUTs with flexible Color Space Transforms, learning to read your exposure limits through digital scopes, and setting up an organized node tree to grade rich melanin skin tones accurately, you transform flat log files into broadcast-ready visual assets.
True mastery of post-production requires structured, hands-on practice with professional equipment under the guidance of seasoned mentors. At the Music And Film Academy, we provide our students with industry-standard camera systems, color-managed editing suites, and premium software tools to help them build exceptional commercial portfolios. Stop struggling with unpredictable color shifting or muddy timelines alone. Take charge of your professional future, study with veteran industry mentors, and join a collaborative network of visual storytellers by enrolling at our Nairobi campus today.
To see these mathematical transformations, node configurations, and scope adjustments in action, watch this helpful video walkthrough on how to Use Color Space Transforms in DaVinci Resolve. This guide provides a clear look at setting up input color spaces, choosing gamma targets, and balancing your clips to ensure a clean, broadcast-ready baseline for your editing team.