Phone:
+254 719 428 550
Physical address:
Information House, Hakati Road,
Nairobi, Kenya.

Phone:
+254 719 428 550
Physical address:
Information House, Hakati Road,
Nairobi, Kenya.
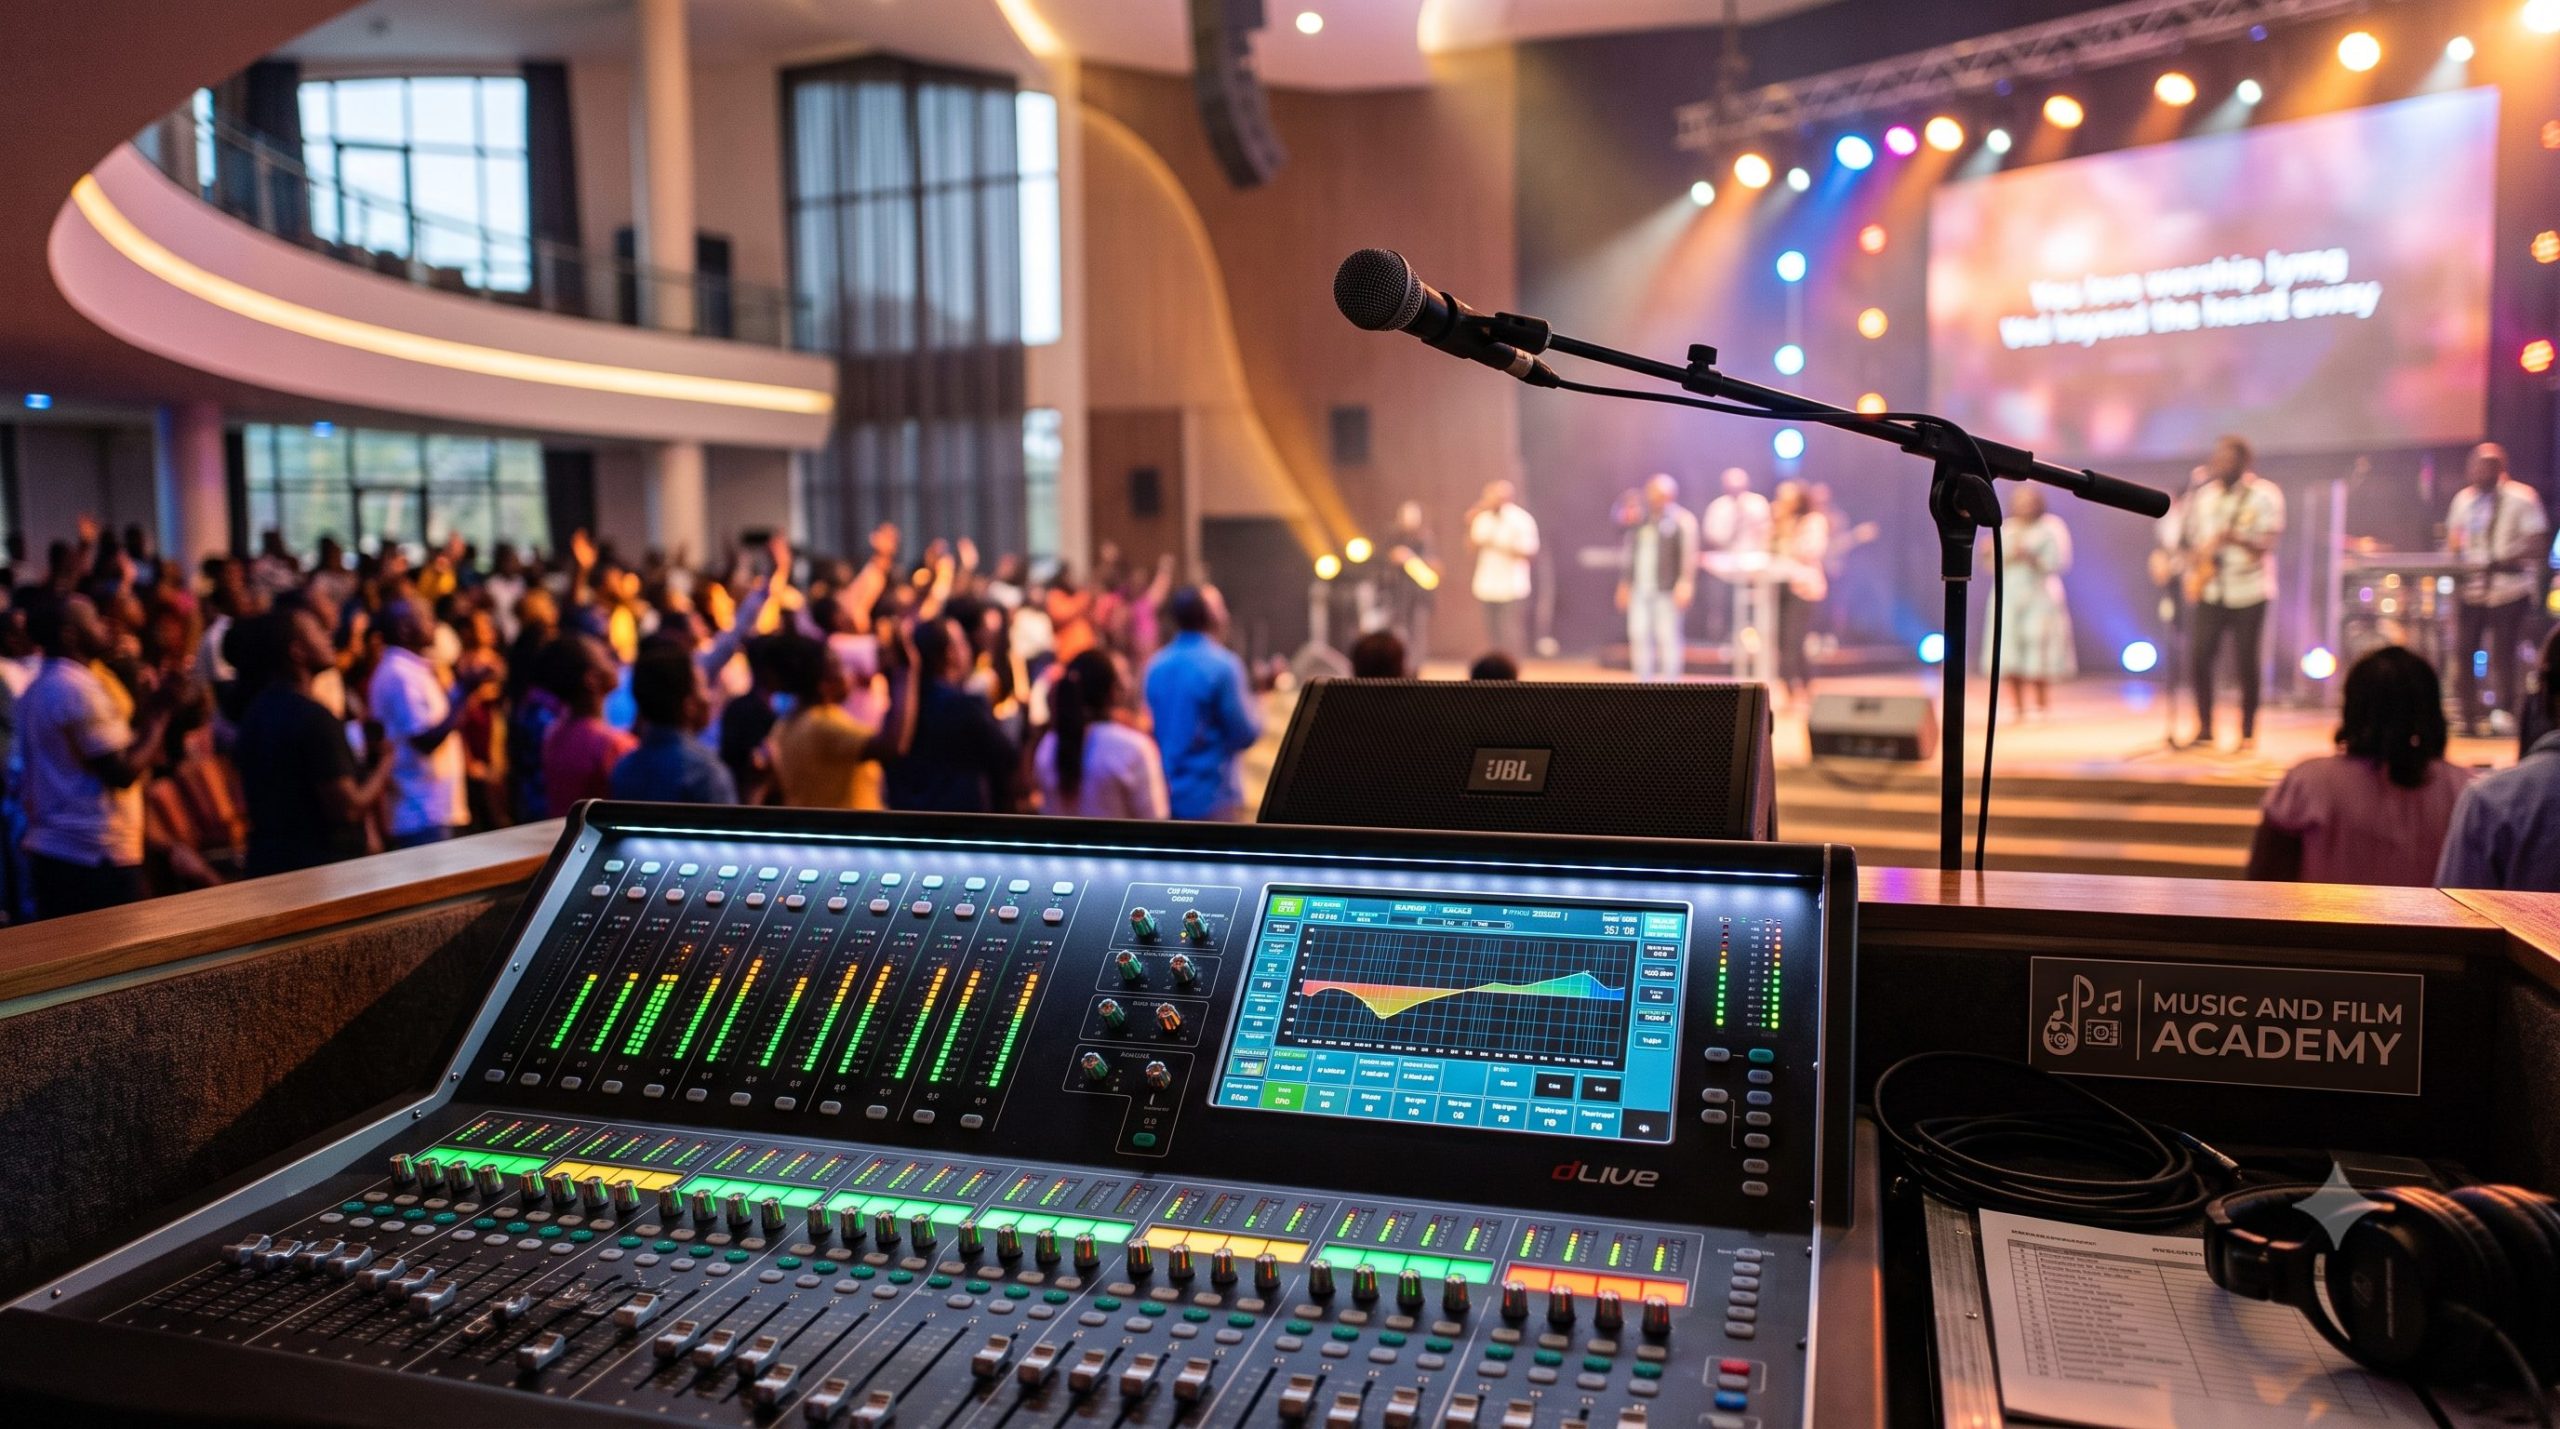
Every Sunday morning across Nairobi and its surrounding counties, millions of worshippers gather in various places of worship. From expansive cathedrals to high-energy community halls, the sound system plays a central role in delivering sermons, praise and worship sets, and live instruments. However, an all-too-familiar technical nightmare frequently disrupts these services: a sudden, ear-splitting screech or a low-end howl that echoes through the auditorium. This jarring interruption destroys the flow of worship and strains the relationship between the technical media crew and leadership. For volunteer church sound technicians and live event engineers, mastering the science of eliminating live microphone feedback in high-density Kenyan sanctuaries is the single most important skill needed to run a distraction-free service.
Many local ministries try to resolve audio screeching by making panic-driven adjustments during the live service, such as aggressively lowering the master volume slider or turning down the main microphone gains. These quick fixes are ineffective, leaving the congregation struggling to hear the sermon or vocalists clearly. Audio feedback is not an unavoidable mystery; it is a predictable physical reaction that occurs when an open microphone captures its own amplified signal from a nearby speaker, creating an infinite, looping loop of sound. To break this destructive cycle permanently, a sound team must transition away from reactive adjustments and implement proactive system calibration. This comprehensive guide outlines the core mechanics of live signal flow, proper stage monitor placement utilizing microphone polar patterns, and exact step-by-step graphic equalizer (EQ) techniques to ring out the room before the doors ever open.
1. The Physics of Feedback: Understanding the Infinite Audio Loop
To build a reliable live audio workflow for eliminating live microphone feedback in high-density Kenyan sanctuaries, you must evaluate your sound system as a closed loop. Feedback happens when the gain of the microphone loop crosses a mathematical threshold known as “unity gain.”
[Microphone] ──► [Mixing Console] ──► [Amplifier / EQ] ──► [Stage Monitors / Mains]
▲ │
└─────────────────── (Acoustic Leakage Loop) ───────────────────┘
When a worship leader speaks into a microphone, the acoustic sound pressure waves are converted into an electrical signal and routed to the mixing console. The console processes this signal, sends it to an amplifier, and outputs it through the house speakers or stage monitors at a significantly higher volume. If that amplified sound wave travels back into the open microphone at a level louder than the leader’s original voice, the system amplifies that sound again. This cycle repeats instantly, generating a loud screech at the specific frequency where the room or system naturally resonates.
In high-density local sanctuaries, several unique regional factors accelerate this loop:
2. Exploiting Microphone Polar Patterns and Strategic Monitor Placement
The most effective, budget-friendly defense against live audio screeching does not involve buying expensive feedback suppressors; it relies on the physical positioning of your stage monitors relative to your vocal microphones. You can dramatically reduce feedback simply by using your microphones’ built-in physical blind spots, known as Null Points.
A. Harnessing Cardioid and Supercardioid Blind Spots
Most lead pastors and worship vocalists use standard dynamic vocal microphones (such as the classic Shure SM58 or Sennheiser e835). These microphones use a Cardioid Polar Pattern, meaning they are highly sensitive to sound waves hitting the front of the capsule, slightly less sensitive at the sides, and completely insensitive directly at the back (180 degree null point).
[Cardioid Mic] ◄── Maximum Sensitivity (Front)
│
▼ Null Point (180^{\circ Back) ◄─── PLACE STAGE MONITOR DIRECTLY HERE
If you are using cardioid microphones, your stage monitor wedges must be placed flat on the floor directly behind the microphone stand, firing directly into the back end of the microphone body. This positions the loudspeaker’s output directly within the microphone’s maximum physical blind spot, blocking the amplified sound wave from re-entering the capsule.
B. The Pitfall of Supercardioid Positioning
Many local technical teams upgrade to premium Supercardioid dynamic microphones (such as the Shure Beta 58A) assuming they automatically prevent feedback. However, a supercardioid microphone has a tighter front pickup zone but introduces a small secondary pickup zone directly at the back (180 degrees).
Its maximum blind spots actually sit at the sides, roughly 120 degrees and 240 degrees off-axis. If you place a stage monitor directly behind a supercardioid microphone, it will feed back immediately. You must angle two monitor wedges in from the sides to exploit those specific off-axis null points cleanly.
3. The Step-by-Step Blueprint for “Ringing Out” the Church Sound System
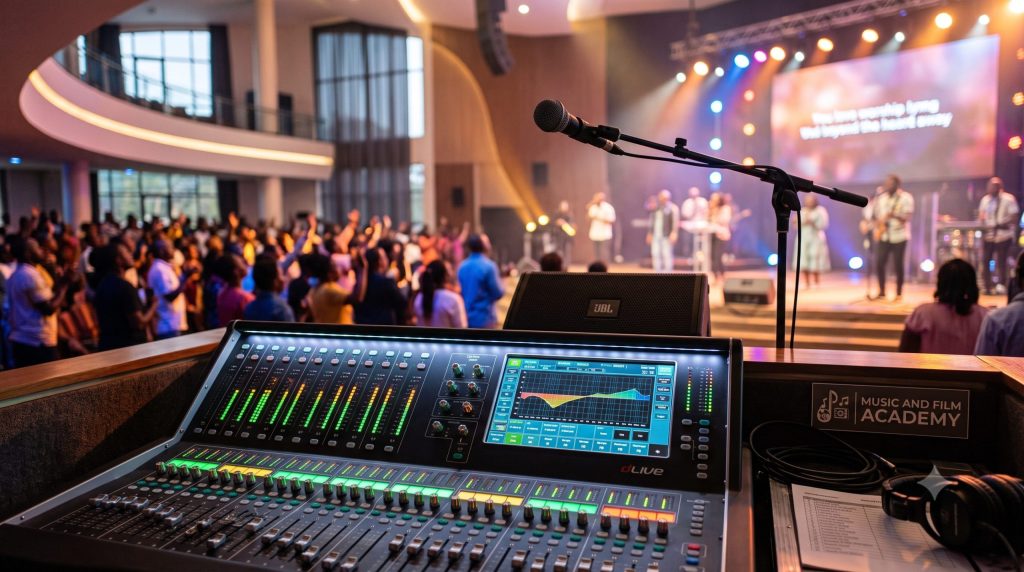
Once your stage monitors and microphones are physically positioned correctly, the final, most crucial step for eliminating live microphone feedback in high-density Kenyan sanctuaries is “ringing out the room.” This technical calibration process uses a 31-band graphic equalizer (EQ) or a parametric EQ inserted across your stage monitor mix outputs to identify and cut problem frequencies before the service begins.
[Isolate Mix] ──► [Raise Gain Slowly] ──► [Identify Ringing Tone] ──► [Apply Narrow Cut (EQ)] ──► [Repeat]
The Calibration Process Explained
Follow this disciplined engineering sequence during your mid-week rehearsal or early Sunday morning soundcheck:
4. Hardware Sourcing and Local Infrastructure Maintenance
To keep your live system running reliably across multiple services, you must pair proper system tuning with a disciplined hardware maintenance routine.
1. Standardizing Cable Shielding to Avoid Interference
A frequently overlooked cause of system noise and feedback loops in local environments is poor cable infrastructure. Many local ministries use inexpensive, unshielded microphone cables purchased from casual vendors downtown. These low-quality cables act like antennae, picking up electromagnetic interference from nearby power lines, generator arrays, or mobile phone signals.
2. Safeguarding Your System Against Power Surges
Electrical power fluctuations are a regular challenge for event spaces in Nairobi. A sudden voltage spike or brief power dip can disrupt your digital mixing console’s internal word clock or damage your power amplifier’s output transistors, leading to system noise and feedback issues.
| Audio System Architecture Component | Primary Operational Role | Recommended Safety Configuration |
| Balanced XLR Cables | Transports low-voltage microphone signals safely to the mixing console. | High-quality copper shielding; physically separated from power lines. |
| 31-Band Graphic Equalizer | Attenuates exact feedback frequencies during the room ring-out process. | Configured to narrow, precise cuts (3 dB} – 6 dB) across problem frequencies. |
| Automatic Voltage Regulator (AVR) | Protects digital audio consoles and processing racks from local power surges. | Installed as a primary power filter before any sensitive system components. |
💡 The Academy Edge: Training your team to handle complex live audio logistics is the most effective way to protect your ministry’s hardware investment. Our industry-aligned Sound Engineering Courses in Kenya turn system setup confusion into confident engineering by giving your media team hands-on access to top-tier analogue and digital mixing systems on campus.
5. Cultivating Stage Discipline: Managing Vocalists and Instrumentalists
Even the most precisely tuned audio system can experience feedback if the worship team lacks proper microphone discipline on stage. The tech team must collaborate closely with praise leaders and pastors to establish clear, professional guidelines for microphone handling.
1. Eliminating the “Cupping” Habit
A common habit among modern praise leaders and vocalists is “cupping” the microphone—wrapping their hand completely around the grille basket while singing. While vocalists often do this to look stylish or emulate performers they see online, it causes a severe technical issue for the sound engineer.
Wrapping a hand around the grille blocks the microphone’s internal acoustic ports, instantly transforming your directional cardioid microphone into an omnidirectional pickup pattern. The microphone begins capturing sound waves from every direction equally, destroying its rear null point and causing immediate feedback from your stage monitors. Instruct your vocalists to hold the microphone firmly by the lower handle body, leaving the upper mesh grille completely unobstructed.
2. Managing Microphone Positioning Near Monitors
[MICROPHONE DISCIPLINE RULES]
│
┌───────────────────────┴───────────────────────┐
▼ ▼
[Hold the Lower Handle] [Stay Behind the Main PA]
│ │
Leaves the top grille open Prevents the capsule from pointing
to preserve the rear null point directly into the main speakers
💡 The Academy Edge: Ready to move past basic live setups and master professional multi-mic arrays, digital snake routing, and advanced monitor mixing workflows? Take your live production career to the highest level by enrolling in our practical Certificate in Sound Engineering Course track at our Nairobi campus.
6. Conclusion: Take Control of Your Sanctuary’s Sound Environment
Achieving a clean, feedback-free live mix during a high-energy service is entirely possible if you replace panic-driven adjustments with disciplined sound engineering practices. By configuring your stage monitors to exploit your microphones’ physical null points, executing a precise room ring-out process before the service begins, maintaining clean balanced cable lines, and establishing proper microphone discipline among your vocalists, you can permanently solve the issue of eliminating live microphone feedback in high-density Kenyan sanctuaries.
True operational mastery requires hands-on experience using industry-grade live systems under the guidance of veteran engineering mentors. At the Music And Film Academy, we believe your technical growth shouldn’t be limited by a lack of access to professional equipment. Our modern campus labs in Nairobi provide our students with unlimited access to state-of-the-art live audio mixers, professional microphone arrays, acoustic design software, and high-fidelity monitoring equipment. Stop wrestling with unexpected screeching and uncalibrated setups alone. Take control of your live production future, upgrade your technical sound engineering skills, and enroll with us today.