Phone:
+254 719 428 550
Physical address:
Information House, Hakati Road,
Nairobi, Kenya.

Phone:
+254 719 428 550
Physical address:
Information House, Hakati Road,
Nairobi, Kenya.
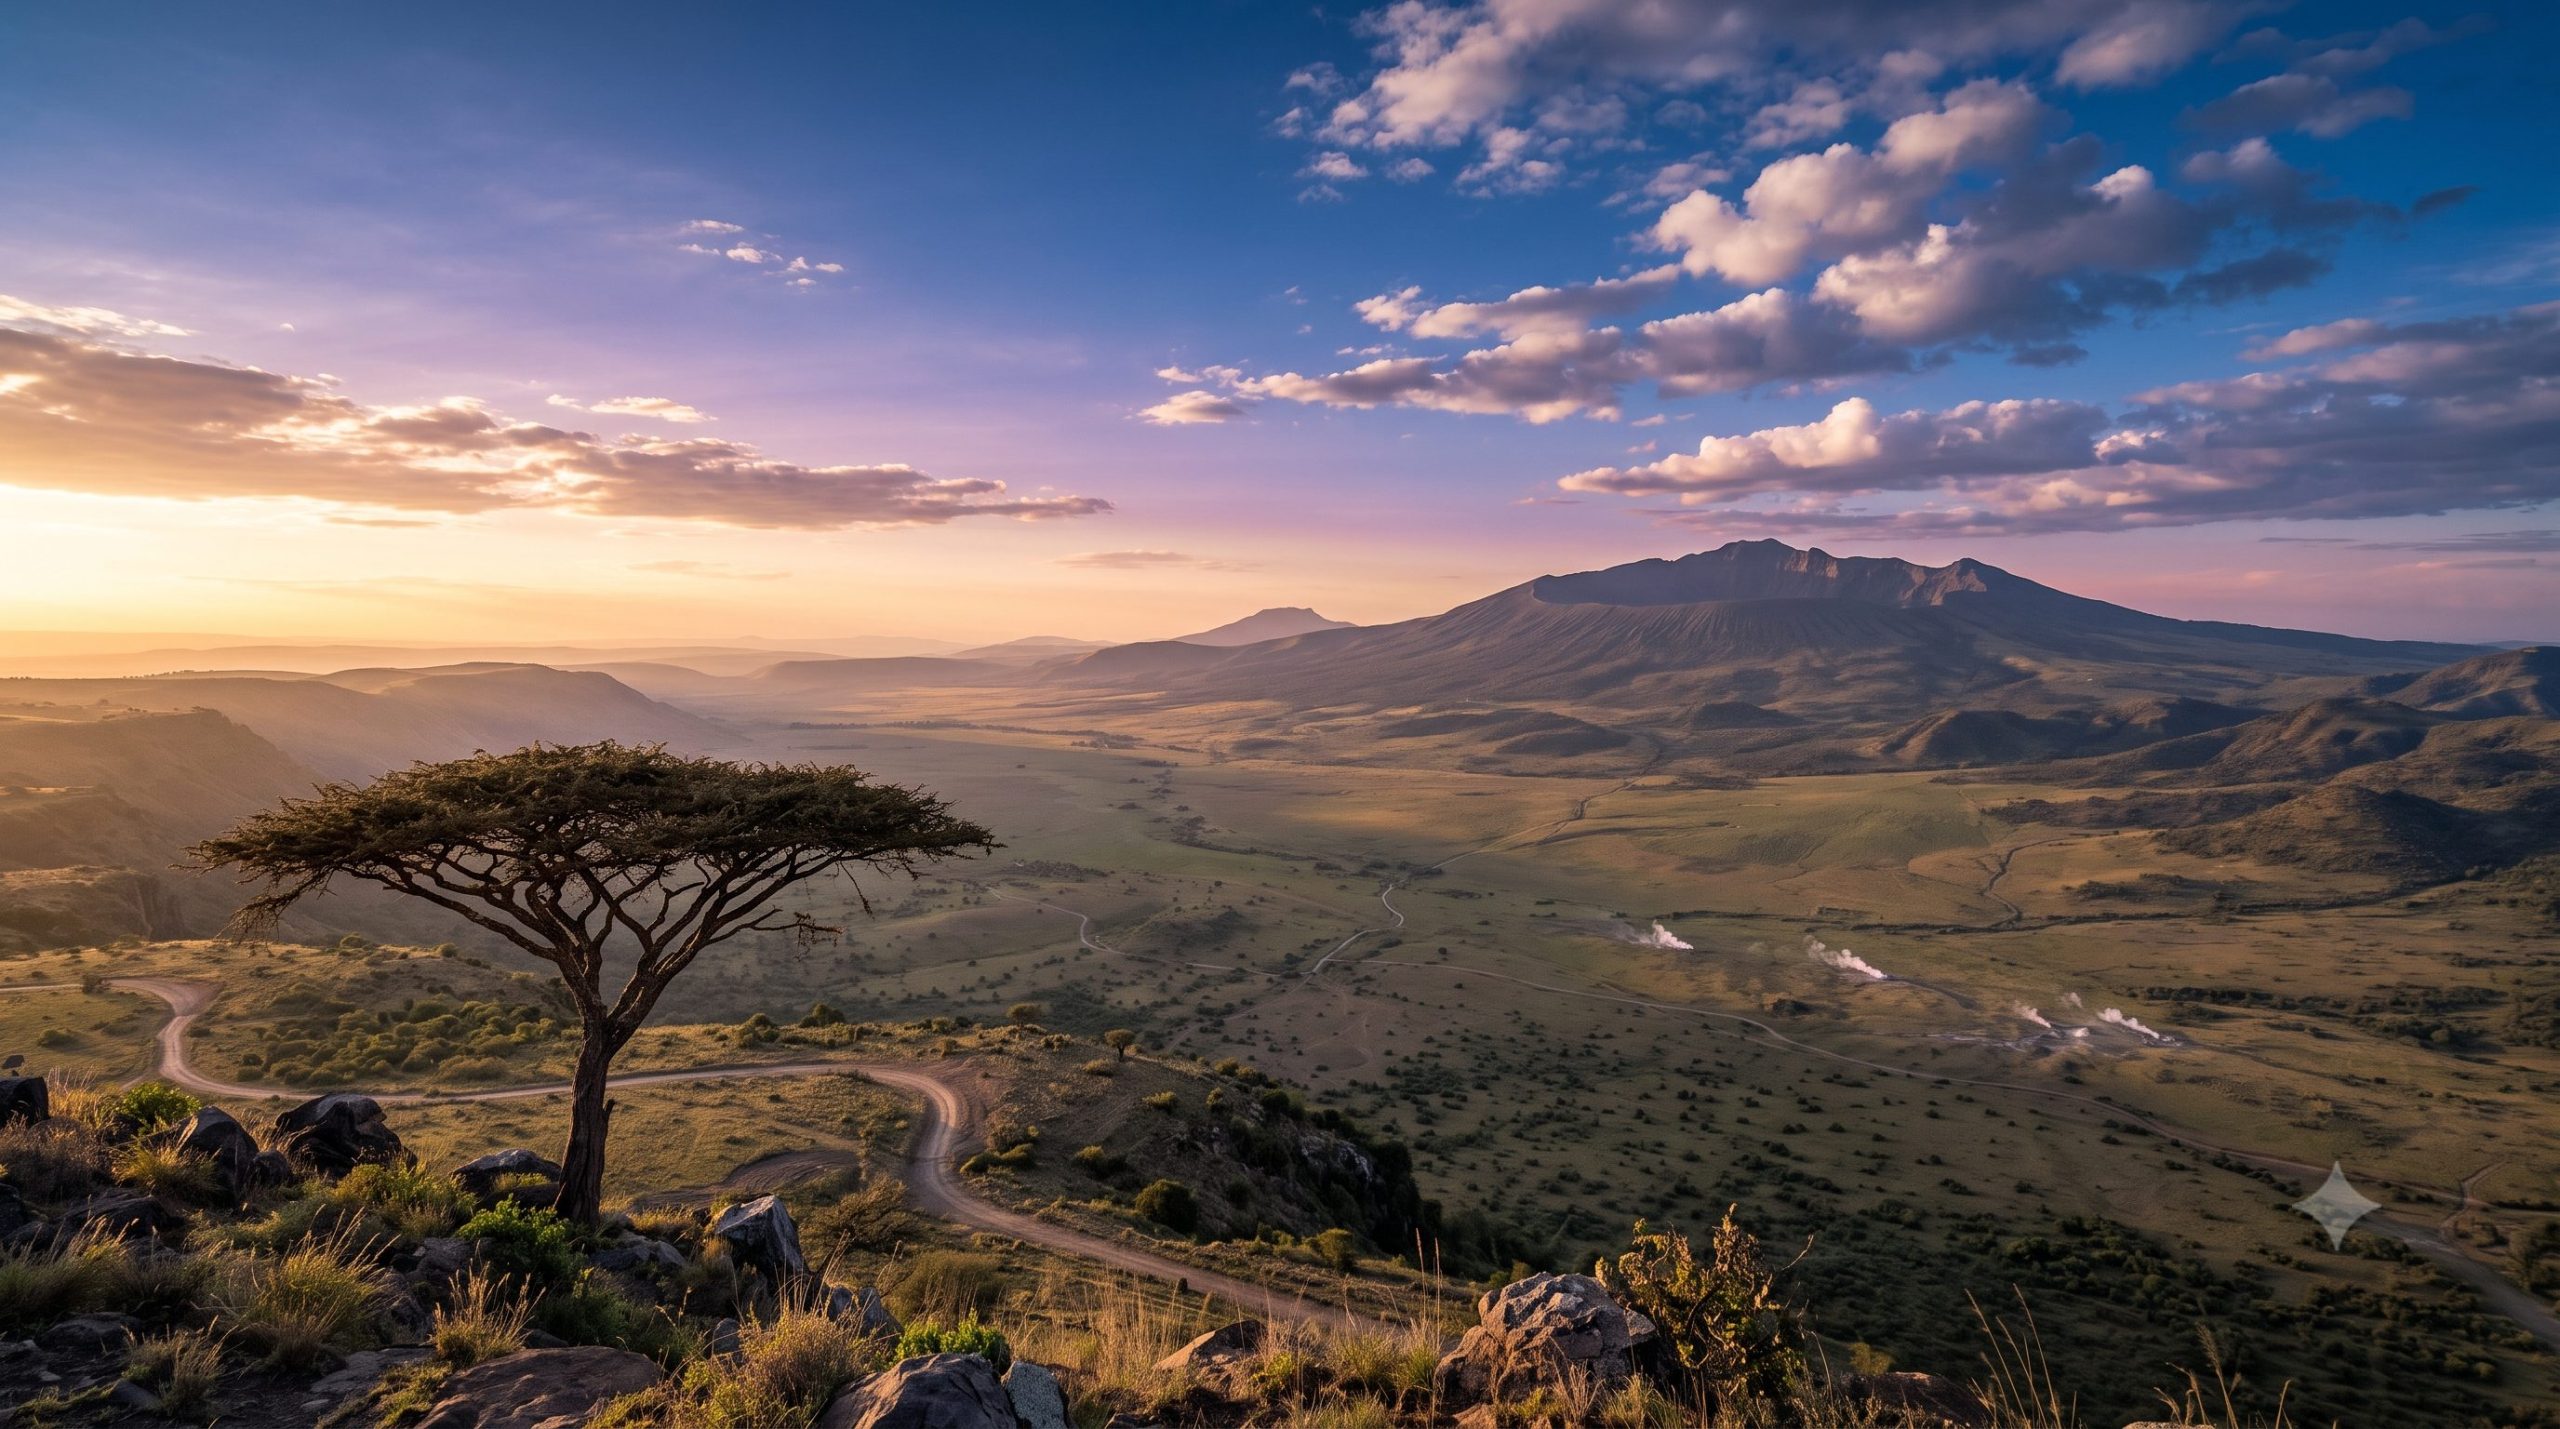
Kenya possesses some of the most visually arresting geographical features on earth, drawing creators from across the globe to frame our sweeping vistas. However, documenting these environments presents severe technical roadblocks caused by our unique position on the equator. If you have ever stood at the viewpoint along the Nairobi-Nakuru highway or walked along the shaded canopies of northern Nairobi, you have likely run into a frustrating phenomenon: an intense white sky, flat lighting, and a thick, muddy blue atmospheric wash that destroys color saturation and distance clarity. Mastering how to capture stunning landscapes in the Great Rift Valley or Karura Forest requires moving far beyond basic automatic camera logic. It demands a deliberate, scientific approach to handling intense equatorial sun glare, choosing optical glass filters, and mapping out tight regional timing loops.
For students and visual artists building a competitive commercial portfolio, the ability to control harsh natural light separates a casual amateur from a high-earning media professional. This guide deconstructs the precise technical frameworks, physical tools, and localized strategies needed to cut through severe haze, manage high-contrast outdoor environments, and capture the true raw beauty of Kenya’s natural architecture.
The geographical features of East Africa suffer from an optical disadvantage called severe atmospheric scattering. Because the sun sits directly overhead along the equator, solar rays pass through a shorter distance of the earth’s atmosphere compared to northern or southern hemispheres. This creates an intense, unmoderated blast of ultraviolet (UV) light that collides with moisture particles, dust, and heat columns rising from valley floors.
When shooting over massive expanses like the expanse of the Rift Valley, the distance between your lens and distant volcanic craters (like Mount Longonot) is filled with millions of microscopic suspended dust particles and moving columns of hot air. This causes short-wavelength blue light to scatter excessively. To your camera sensor, this registers as a milky, low-contrast mask that flattens your shadows, muddying your deep greens and earthy browns into a dull gray profile.
In a dense jungle environment like the canopies of a forest reserve, the equatorial sun creates a different obstacle: extreme dynamic range. The sun puncturing through thick bamboo or indigenous leaf canopies creates intense patches of pure white light adjacent to deep, dark shadows beneath the undergrowth. Standard digital camera sensors cannot record both extremes in a single standard exposure, leading to either blown-out highlights or completely muddy, black shadows. Balancing these elements requires specialized on-field optics and precise exposure tracking.
To cut through harsh light profiles and successfully execute a strategy on how to capture stunning landscapes in the Great Rift Valley or Karura Forest, you must place high-quality optical modifiers in front of your camera glass. No amount of post-production processing in software can restore fine background textures if the details were lost to glare at the sensor level.
[Harsh Sun / Haze Scatter] ──> [Circular Polarizer (CPL)] ──> [Neutral Density (ND)] ──> [Crisp, Balanced Sensor Image]
                                      │                                  │
                                 Cuts Glare &                       Controls Total
                              Restores Saturation                   Light Volume
A Circular Polarizer is an essential tool for any local landscape photographer. Think of a CPL filter as high-end polarized sunglasses for your lens system. It features a rotatable dual-glass element that selectively blocks polarized light waves bouncing off reflective non-metallic surfaces.
When you want to capture motion—such as the movement of water over local waterfalls or moving cloud patterns across volcanic ridges—the intense light forces you to use tiny apertures (like f/22) or ultra-fast shutter speeds. Using a tiny aperture causes soft, fuzzy images due to lens diffraction, while fast shutter speeds freeze water awkwardly, making it look like jagged shards of glass.
| Filter Type | Primary Function | Ideal Tactical Use Case | Visual Impact on Landscape |
| Circular Polarizer (CPL) | Eliminates polarized light scatter and surface glare | Wet leaf foliage, sky contrast control | Restores rich green saturation and darkens light skies |
| Solid ND (6-Stop / 10-Stop) | Reduces total light volume entering the lens system | Long-exposure water movement at noon | Transforms rushing rivers into smooth, cinematic motion threads |
| Graduated ND (Hard/Soft Edge) | Darkens only the top section of the image frame | Horizons where bright skies meet dark terrain | Balances sky and land exposure to preserve cloud details |
💡 The MFA Factor: Feeling overwhelmed by filter configurations, optical math, and managing high-contrast environments? Discover the secrets of professional exposure workflows by checking out our core training blocks in our primary Photography Courses in Kenya.
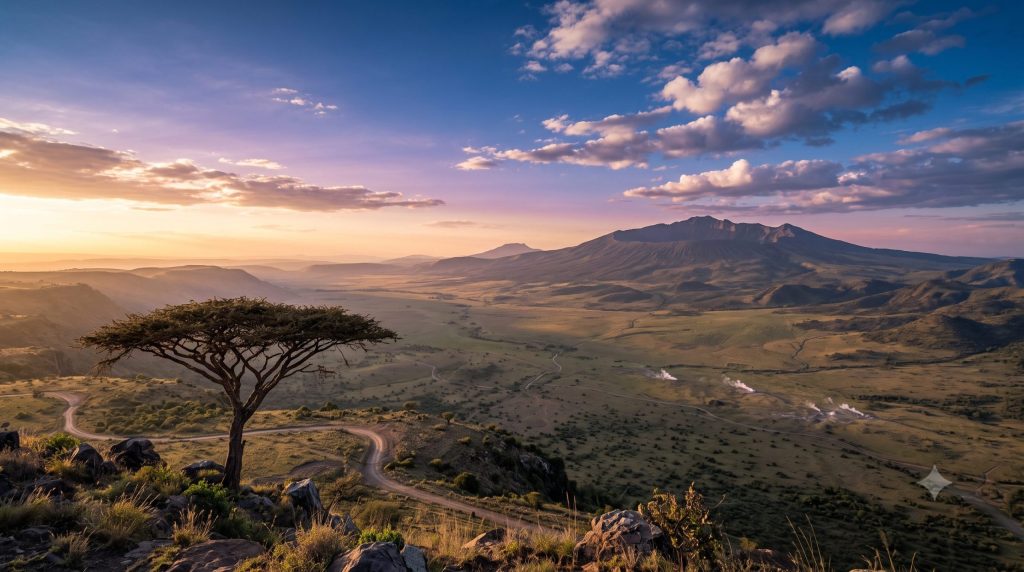
Because our country sits directly on the equator, our sun patterns behave very differently compared to higher latitudes. In northern countries, twilight can stretch out for hours, giving creators plenty of time to set up, frame, and capture their scenes. Along the equator, the sun drops down at a sharp, perpendicular angle (90 degree) to the horizon line, resulting in incredibly fast light shifts.
In our region, the true “Golden Hour”—the sweet spot where the sun skims the horizon line and bathes the landscape in a soft, warm amber glow—lasts for a brief 20 to 25 minutes. If your gear isn’t set up, calibrated, and steady on its tripod beforehand, you will miss the light entirely.
Because light levels change rapidly during equatorial golden hours, you must lock your camera down on a heavy, professional-grade tripod. Avoid chasing framing adjustments by hand. Instead, arrive at your location at least an hour early to scout your foreground elements, clear distracting paths, and dial in your baseline manual focusing points. For accurate real-time astronomical mapping and twilight calculation tables used by environmental documentarians worldwide, track your target locations using the professional positioning tools provided by the National Centers for Environmental Information (NCEI).
Landscape photography is more than just pointing a wide-angle lens at a vast view and hoping for the best. Without a clear structural anchor, a vast landscape can easily feel small, flat, and uninspiring on screen.
When framing the massive depth of a valley system, always look for a powerful foreground element to ground your viewer’s eye. A lone acacia tree, a jagged rock outcrop, or a winding dirt path positioned in the lower third of your frame provides an essential reference point for scale. This element helps the viewer appreciate the true size and distance of the volcanic craters stretching out into the background.
[Foreground Anchor: Acacia/Rock] ──> [Midground Transition: Escarpment Walls] ──> [Background Infinity: Volcanic Peaks]
While new photographers often reach for ultra-wide lenses automatically, wide-angle glass can distort horizons and push distant mountain ranges too far back, making them look tiny.
💡 The MFA Factor: Selecting your focal length carefully is an essential skill for landscape photography, as spatial framing is a core module in our foundational physical training curriculum. Master focal choices, element arrangements, and technical lens management by exploring our introductory Basic Photography Certificate Course at the Music And Film Academy.
Once you return to your workstation from a field production session, your final step takes place inside your digital asset editor. Even with a high-quality CPL filter fitted, RAW files captured over vast distances often require precise color profiling and clarity adjustments to remove any remaining blue color casts.
Always save and export your final landscape files in a wide, uncompressed color profile (such as Adobe RGB or ProPhoto RGB) before converting them to sRGB for social media or web display. This preserves your color depth, ensuring your gradients look smooth and artifact-free across various screens. For professional standards on digital archiving, color spaces, and print preservation for natural history photography, consult the guidelines maintained by the International Center of Photography (ICP).
💡 The MFA Factor: Ready to move past basic adjustments and master advanced high-dynamic-range (HDR) blending, professional panorama stitching, and gallery-grade printing setups? Take your craft to the highest level by enrolling in our elite Advanced Certificate in Photography Course at the Music And Film Academy.
Learning how to capture stunning landscapes in the Great Rift Valley or Karura Forest is an incredible milestone that elevates your environmental and commercial portfolios. By learning to overcome equatorial haze, deploying CPL and ND filters correctly, and mastering the fast pace of our regional golden hours, you unlock the ability to turn any natural landscape into an impactful piece of visual art.
True mastery of photography is born from consistent, structured practice with professional equipment under the guidance of seasoned mentors. At the Music And Film Academy, we provide our students with industry-standard camera systems, premium optical filter sets, and high-spec editing suites to help them build exceptional portfolios. Stop struggling with unpredictable lighting conditions alone. Take charge of your creative future, join a vibrant community of local visual storytellers, and enroll in our campus programs in Nairobi today.