Phone:
+254 719 428 550
Physical address:
Information House, Hakati Road,
Nairobi, Kenya.

Phone:
+254 719 428 550
Physical address:
Information House, Hakati Road,
Nairobi, Kenya.
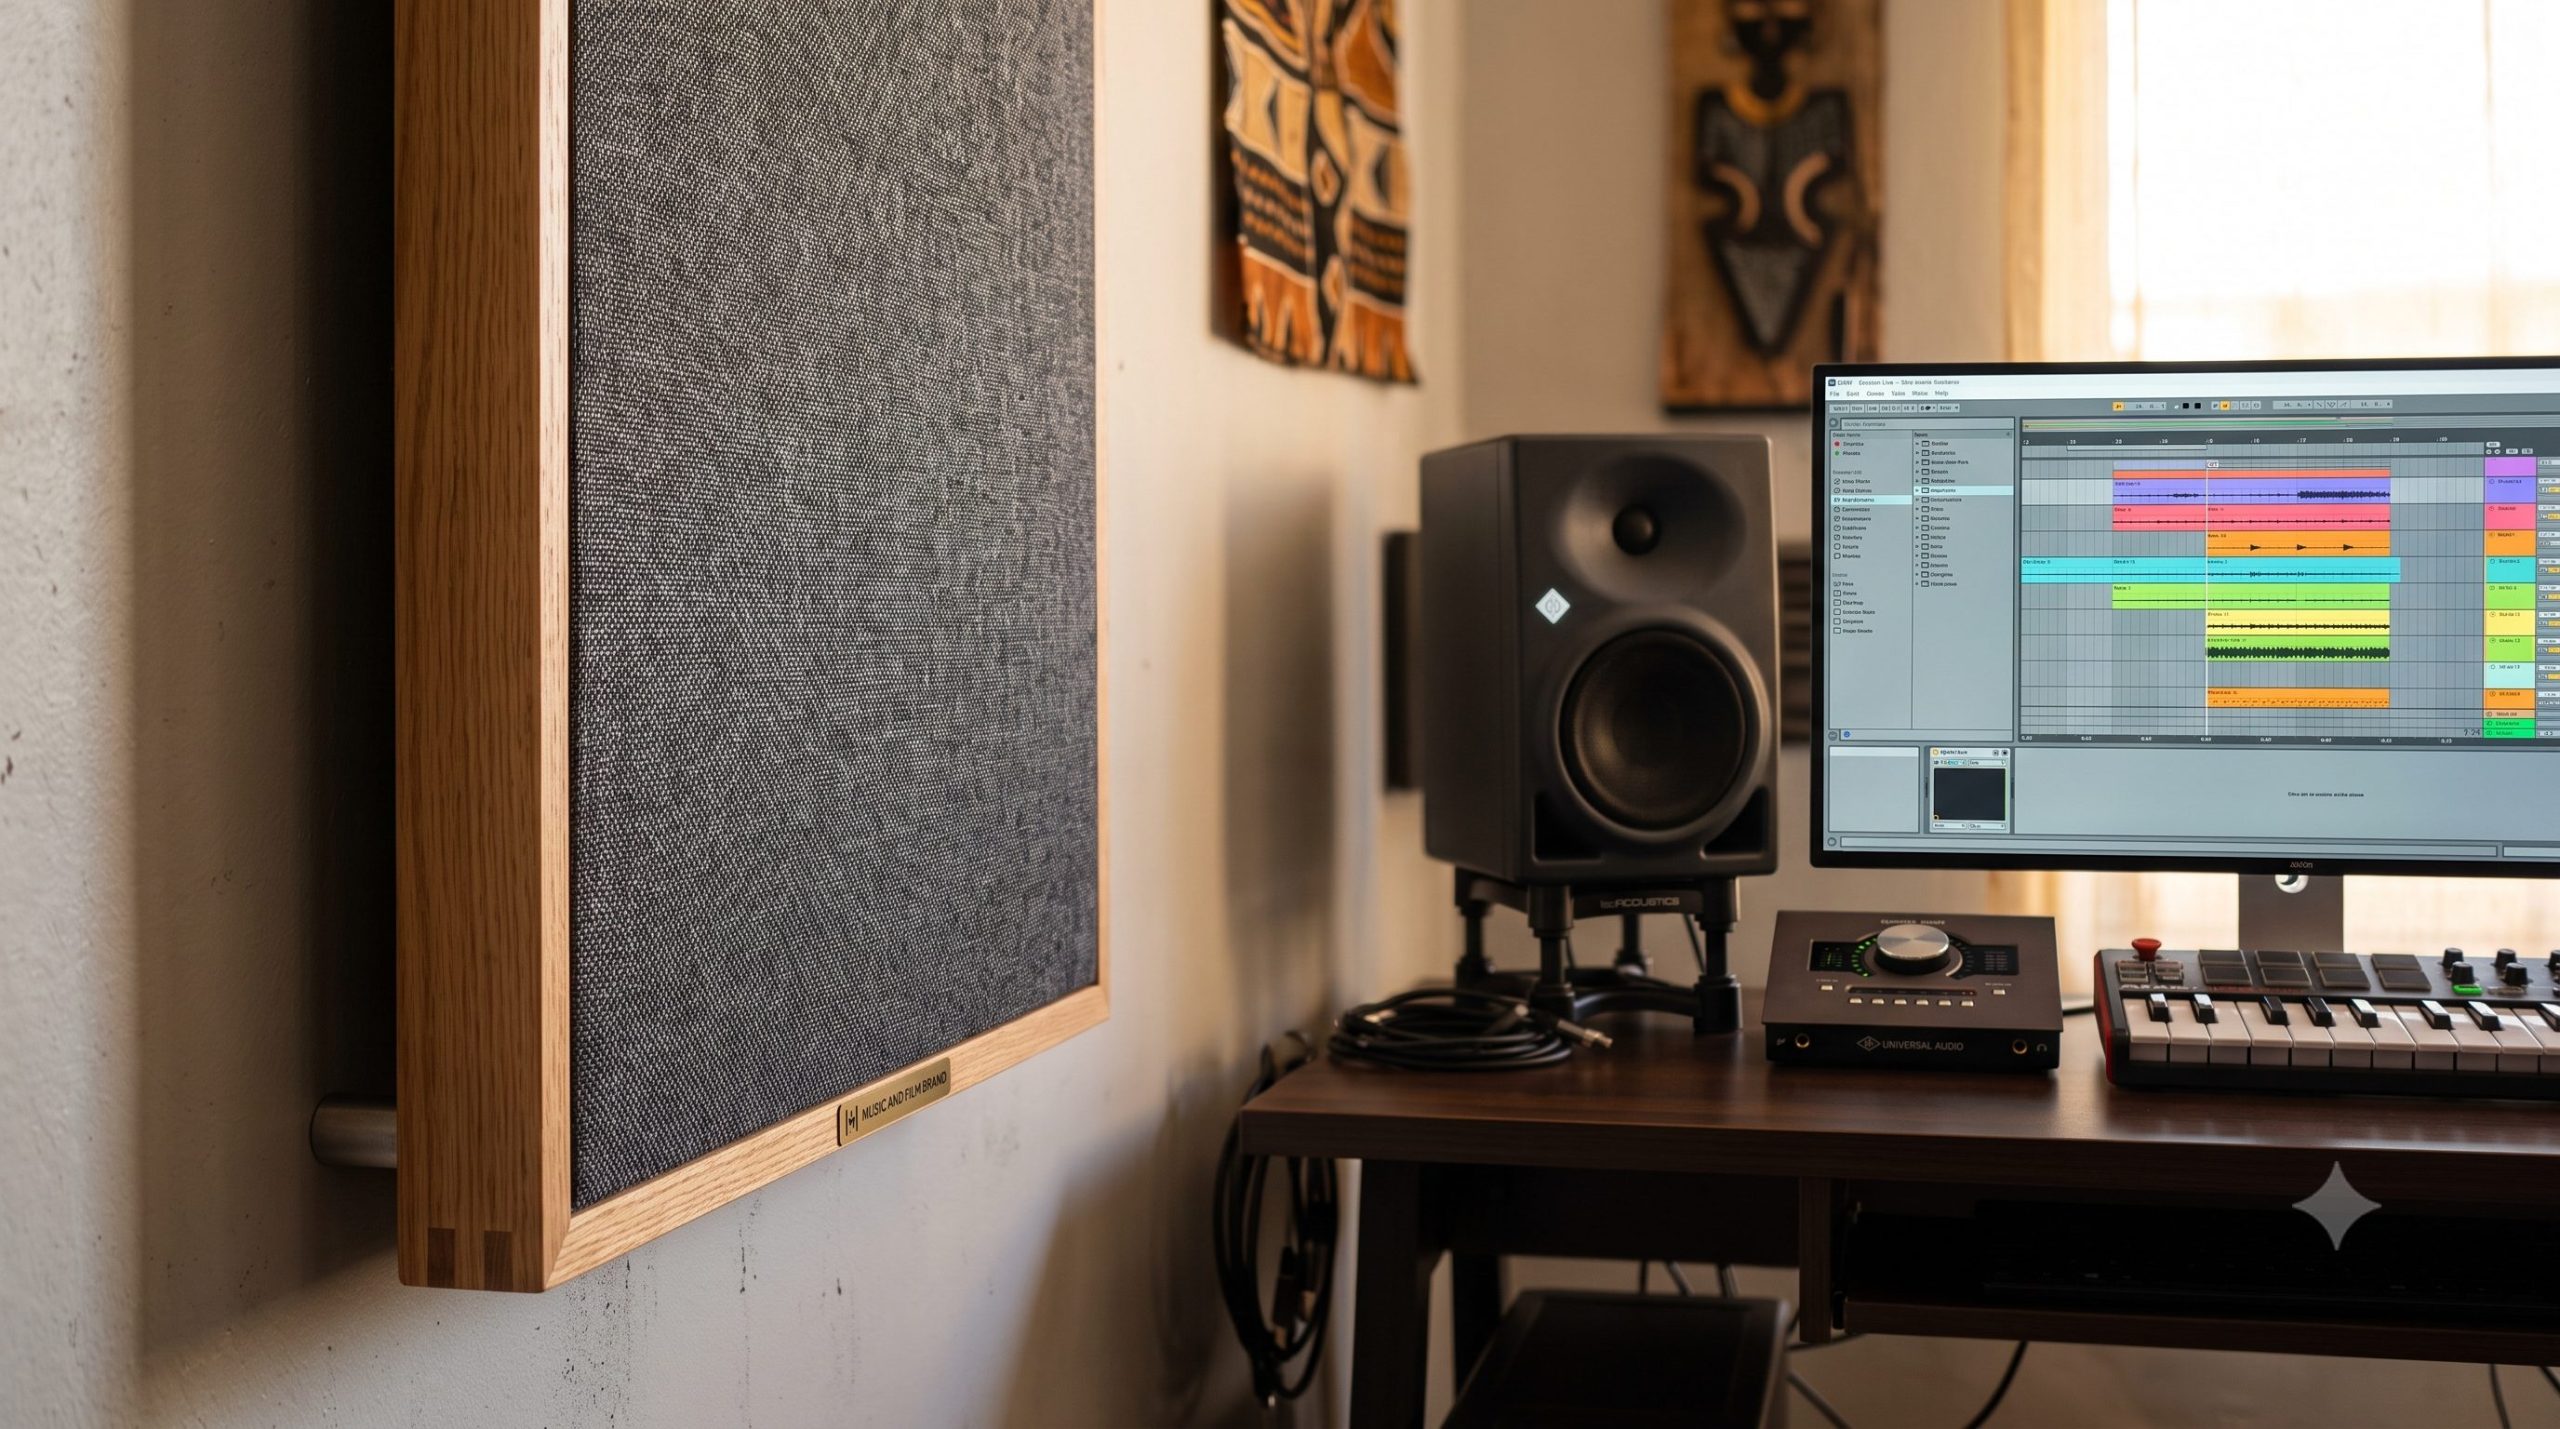
Setting up a home recording studio in Nairobi is one of the most exciting milestones for any up-and-coming music producer or sound engineer. With affordable digital audio workstations (DAWs) and high-quality USB microphones readily available in the downtown electronics hubs, the technical entry barrier to creating music has never been lower. However, a major bottleneck quickly dampens the enthusiasm of local bedroom producers. You record a vocal or mix a beat, but when you play it back, it sounds hollow, boomy, or muddy. You change your microphone, tweak your equalizer (EQ) plugins, and compress the signal, yet the underlying issue remains. The problem is not your recording equipment; it is your room. If you are serious about producing radio-ready tracks, mastering the science of stopping room reflections in Nairobi home studios is the single most important audio upgrade you must make.
Most residential spaces in estates like Roysambu, Lang’ata, or Ruaka are constructed with hard, highly reflective materials: flat concrete walls, ceramic tiled floors, and large glass windows. When your studio monitors output sound waves, those waves do not just travel directly to your ears; they slam into these hard surfaces, bounce back into the room, and collide with the ongoing audio signal. This creates an acoustic nightmare known as comb filtering, flutter echo, and modal distortion, making it impossible to hear an accurate representation of your mix. To overcome this technical bottleneck without spending a fortune, you must treat your room strategically. This comprehensive guide details the mathematical physics of acoustic design, maps out low-cost material sourcing between Gikomba and local industrial areas, and provides a step-by-step blueprint to locate and neutralize destructive audio reflections on a tight budget.
When sound waves travel away from an acoustic source inside an untreated bedroom, they behave exactly like light waves hitting a mirrors—they bounce off boundaries at an equal and opposite angle. To design an effective acoustic layout for stopping room reflections in Nairobi home studios, you must understand the mathematical differences between the two core treatment mechanisms: acoustic absorption and acoustic diffusion.
[Sound Wave] ──►  ||| [Porous Absorber] ||| ──► Energy Converted to Thermal Heat (Dampened)
[Sound Wave] ──►  /\/\ [Rigid Diffuser] /\/\ ──► Energy Scattered Uniformly (Maintains Ambience)
Acoustic absorption is the process by which a sound wave encounters a porous material and loses its kinetic energy. When a sound wave strikes an open-cell, fibrous material (such as high-density mineral wool), the air molecules vibrating inside the wave are forced to navigate a dense network of tiny, interconnected air pockets. This friction converts the mechanical kinetic energy of the sound wave into minuscule amounts of thermal energy (heat).
Acoustic diffusion takes a completely opposite approach. Instead of trapping and destroying the sound wave’s energy, a diffuser uses an irregular, mathematically calculated surface profile to break up a concentrated, directional sound wave and scatter it evenly across the room in multiple directions.
A major mistake local bedroom producers make is wasting thousands of shillings on cheap, lightweight polyurethane “egg-crate” foam tiles sold online or in downtown electronics shops. This lightweight foam is far too thin and lacks the density required to stop anything below the highest audio frequencies. It will do nothing to solve your boomy bass issues or muddy mid-range reflections, leaving your room acoustically unbalanced. To build true, commercial-grade acoustic panels on a budget, you must source industrial mineral wool.
To effectively absorb mid and low-frequency reflections, look for specialized industrial rockwool insulation slabs.
Once you secure your raw rockwool slabs, you need to frame and wrap them safely to keep fine mineral fibers from escaping into your breathing space.
Simply hanging acoustic panels randomly around a bedroom will yield poor results. To maximize your budget-friendly setup, place your acoustic panels exactly where the first, most destructive sound reflections occur. These areas are known as First Reflection Points (or early reflection zones). You can track them down easily using a classic studio technique known as the Mirror Trick.
[Studio Monitor] ───────────────► (Hits Wall Mirror) ───────────────► [Your Mixing Position]
                                         ▲
                         [Place Acoustic Panel Here]
To execute this step properly, grab a small handheld mirror and work with a friend or fellow producer:
By centering your newly constructed DIY rockwool panels directly over these marked tape locations, you stop early reflections right where they hit, instantly sharpening your stereo image and widening your sweet spot.
💡 The MFA Factor: While DIY acoustic treatment can help manage glaring echoes, learning to mix complex arrangements inside a professionally isolated, mathematically tuned environment is an irreplaceable step for a serious engineer. Our intensive Sound Engineering Courses in Kenya grant you unlimited, hands-on access to professional, campus-wide acoustic suites calibrated to absolute flat response lines.
With your materials sourced and reflection points mapped out, you can assemble your budget-friendly acoustic panels. Treat this assembly phase with careful attention to structural safety and clean aesthetics.
Cut your softwood timber slats into lengths that form a clean, rectangular box frame with internal dimensions measuring exactly 120 cm * 60 cm. Secure the corners using standard wood screws and simple L-shaped corner brackets from your hardware store to ensure the frame remains rigid and square.
Lay your timber frame flat on a clean floor and gently drop the high-density rockwool slab inside the frame cavity. The slab should fit snugly within the timber borders without needing heavy glues.
Stretch your porous fabric neatly over the front face of the panel, pulling it tautly around the back edges of the timber frame. Secure the fabric firmly to the wood using a heavy-duty manual staple gun every two inches. Fold the corners cleanly like wrapping a gift box, ensuring a professional aesthetic that looks great on your home studio walls.
                  [DIY PANEL ASSEMBLY LAYOUT]
                               │
       ┌───────────────────────┴───────────────────────┐
       ▼                                               ▼
[Timber Outer Box]                             [Snug Fabric Wrap]
       │                                               │
120cm * 60cm outer shell          Taut, breathable fabric stapled
built with L-brackets                          firmly along the back wood trim
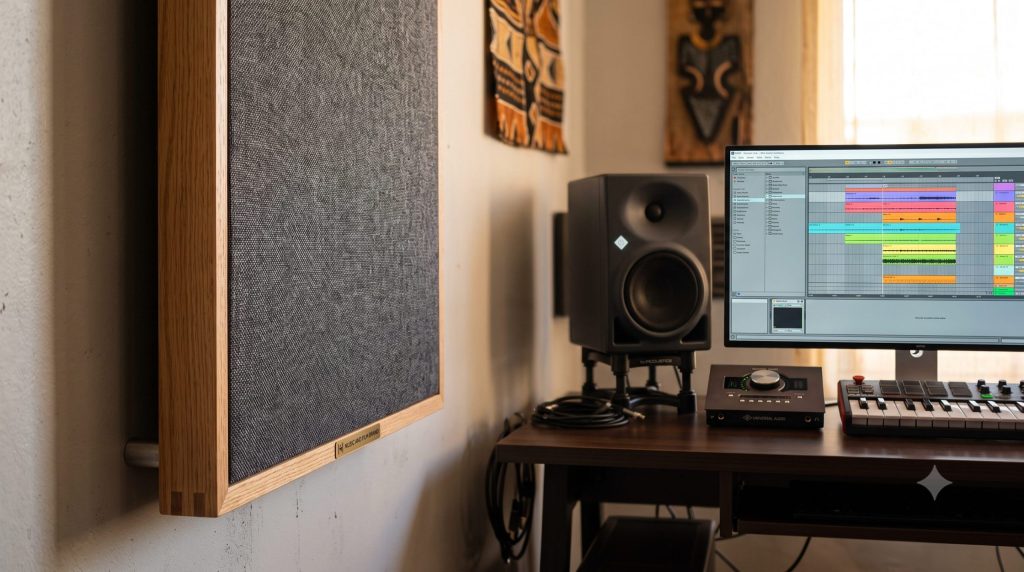
When hanging your finished panels on the wall, avoid mounting them completely flat against the concrete surface. Use simple spacer blocks or offset hooks to create a 50 mm (2 inch) air gap between the back of the panel and the wall surface.
While treating your side walls with early reflection panels handles high-frequency flutter, it does not solve the most difficult acoustic problem in small home studios: low-frequency acoustic energy buildup. Bass frequencies (20 Hz to 250 Hz) have massive wavelengths that naturally migrate and gather in the trihedral corners of your room (where two walls meet the ceiling or floor). This buildup causes modal issues, making your room feel overly boomy or creating phase cancellation dead zones where you cannot hear your bass tracks accurately.
To control this low-end buildup, you must place specialized absorption structures in your room corners, commonly known as Bass Traps.
[Room Corner Structure] ──► [[[ Stacked Triangles of Dense Rockwool ]]] ──► Absorbs Low-End Modal Buildup
💡 The MFA Factor: Technical room tuning requires sharp, analytical listening skills and an understanding of acoustic physics. If you want to transform your casual production hobby into a sustainable career, learn how to manage professional studio workflows step-by-step by enrolling in our foundational Certificate in Sound Engineering Course track.
Investing your time in stopping room reflections in Nairobi home studios is the single most effective way to improve the quality of your music production and engineering work. By choosing high-density industrial rockwool over cheap foam, sourcing your framing and fabric materials directly from local markets like Gikomba, using the mirror trick to map your reflection points, and building corner bass traps, you can transform an ordinary bedroom into an accurate, reliable mixing environment on a budget.
However, true professional growth requires hands-on practice using industry-grade recording environments and learning from active engineering mentors. At the Music And Film Academy (MFA), we believe your creative development shouldn’t be limited by personal studio space constraints. Our campus labs at Information House provide our students with unlimited access to state-of-the-art acoustic suites, large tracking rooms, calibrated multi-monitor arrays, and top-tier analogue and digital consoles. Stop guessing in an untreated room. Upgrade your technical audio engineering skills, refine your mixing workflows, and join a supportive network of professionals by enrolling at our Nairobi campus today.